My latest mash-up of recipes is Lemon Blueberry No-Churn Ice Cream! It’s a combination of two of my past recipes – Lemon Ice and Blueberry Pie! Once I realized that the filling for the Lemon Ice recipe from one of Grandma’s old church cookbooks was basically a no-churn ice cream, my brain worked overtime trying to work out how many different kinds of no-churn ice cream I could make. The possibilities are endless! I wanted to just go with the basic Lemon Ice filling recipe first, just so I could really see how it would turn out, and I added the blueberries to make it taste like the blueberries and lemon in Blueberry Pie. I think it turned out pretty well! Let’s just say it disappeared pretty quick. In fact, you might say it vaporized! This recipe is just ridiculously easy to make, so I hope you’ll give it a try!
Here is the recipe as I made it:
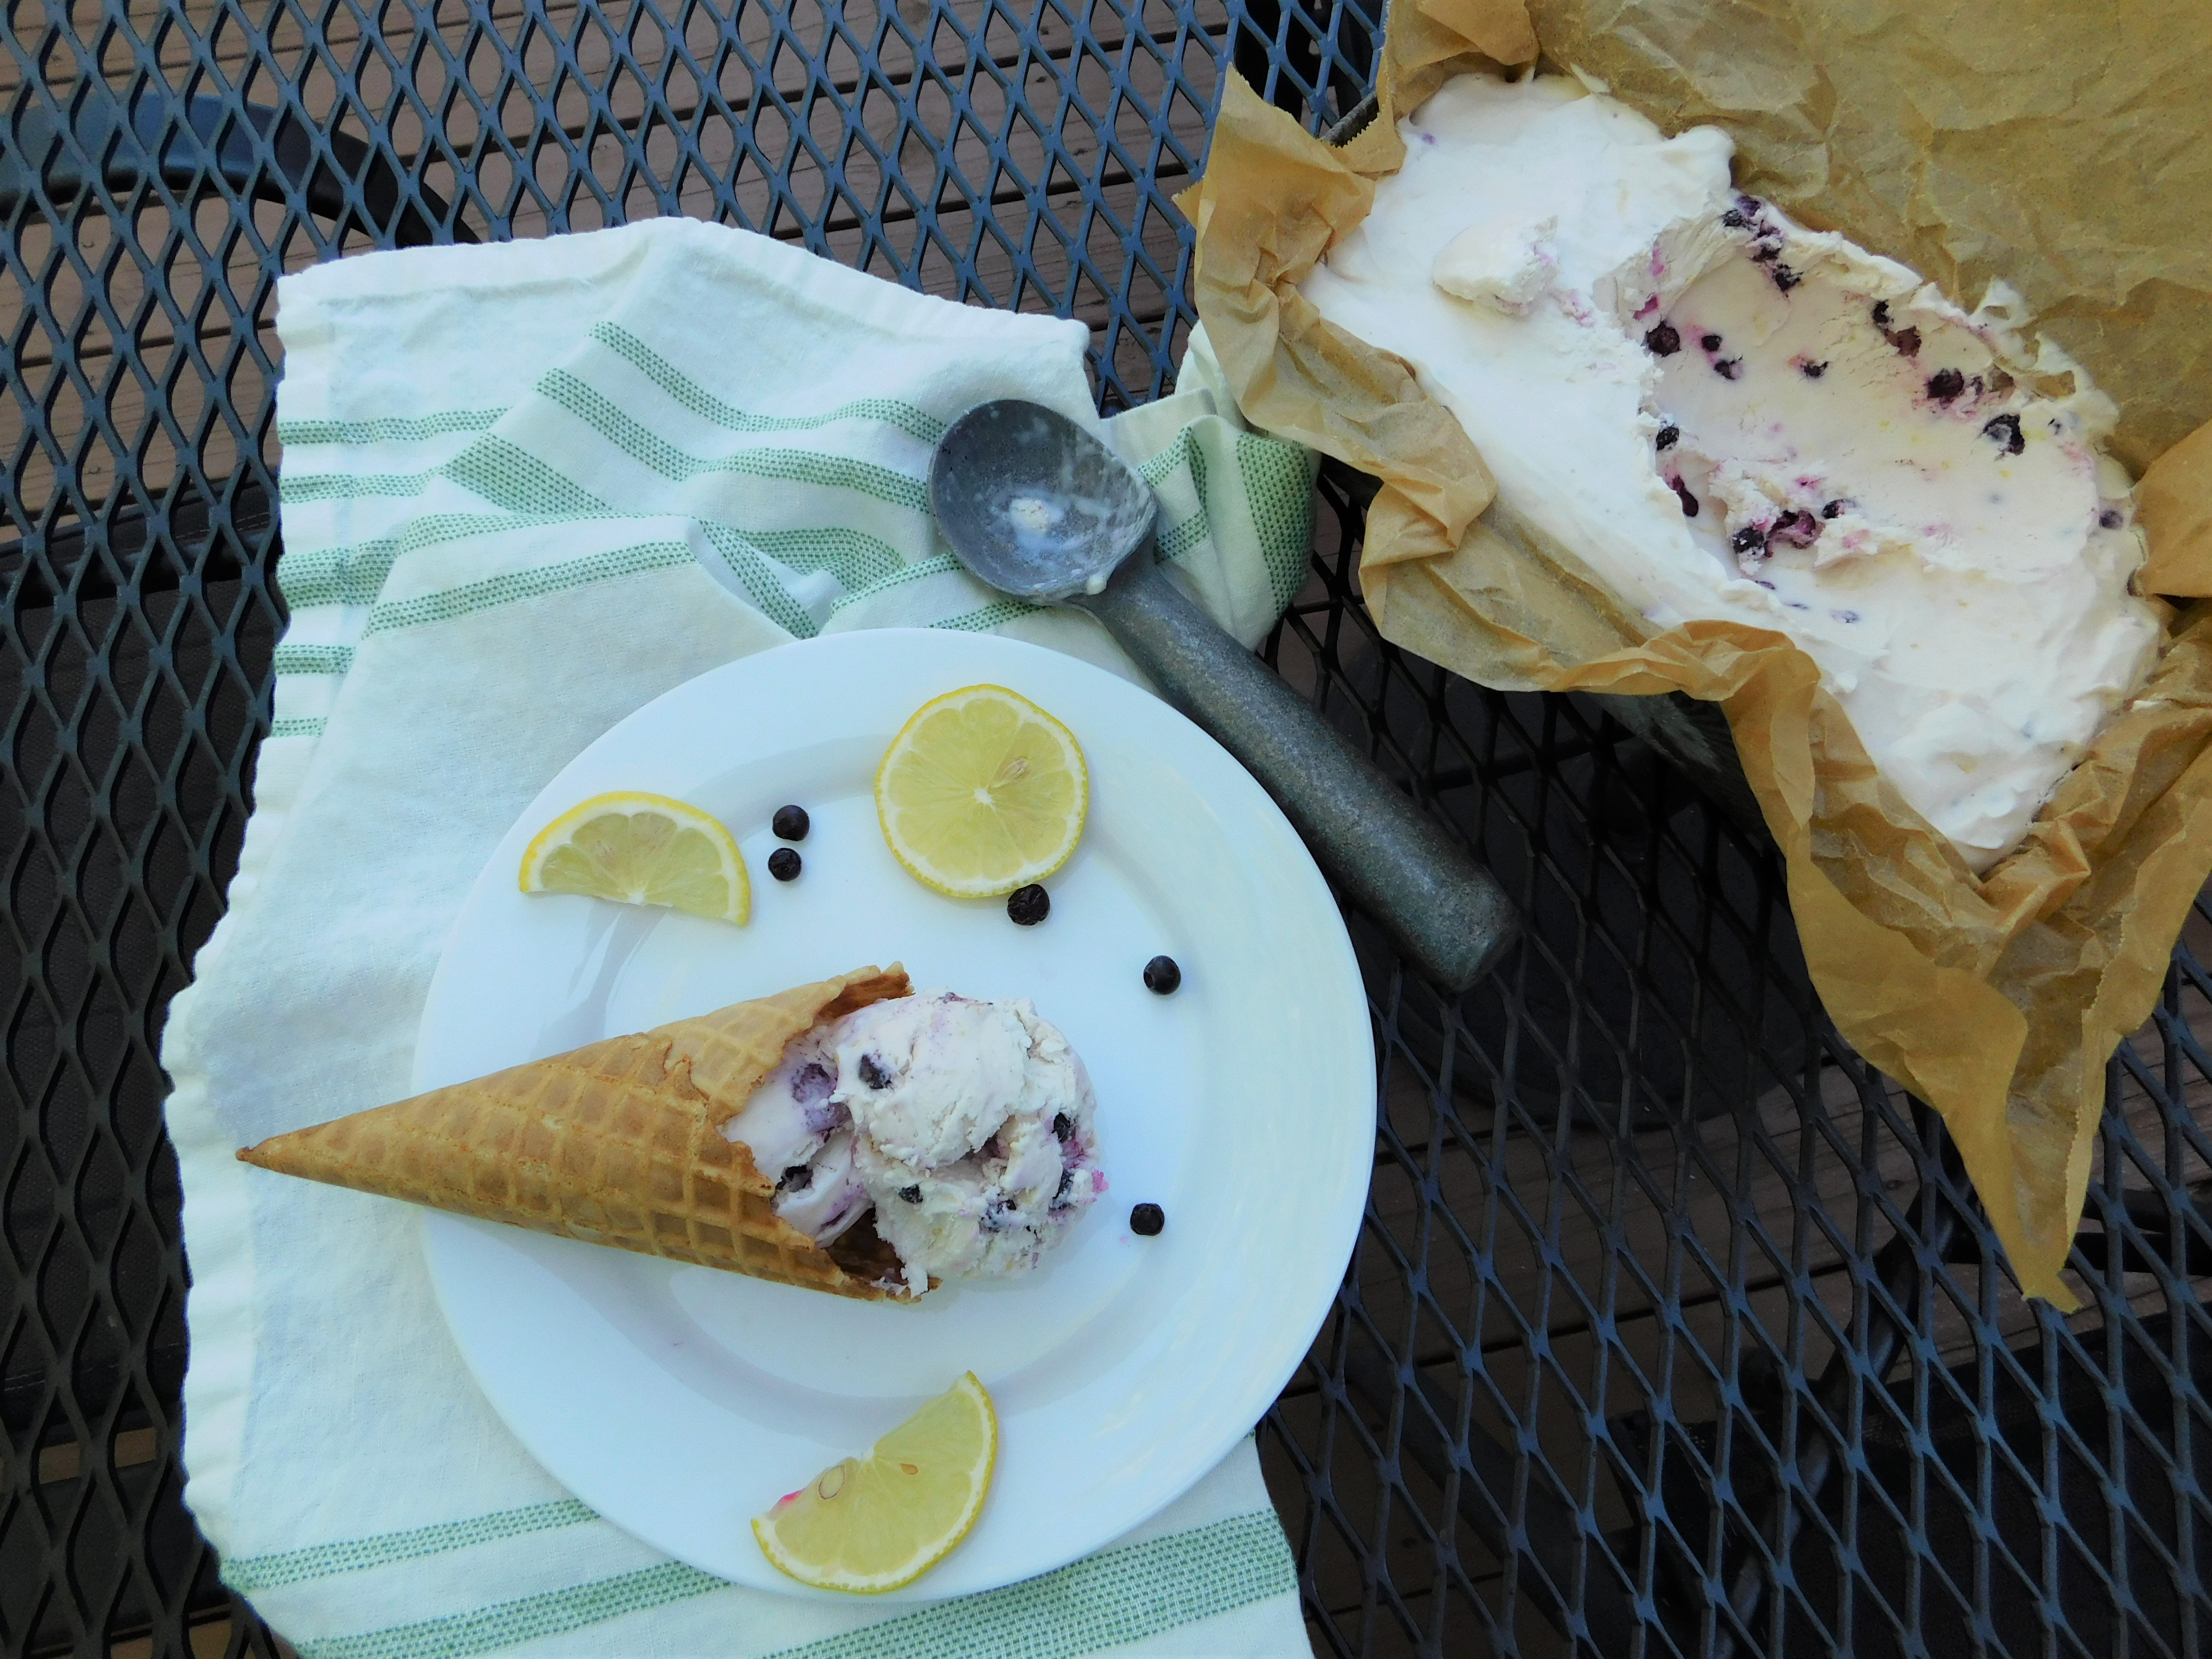
Lemon Blueberry No-Churn Ice Cream
Beat together:
1 can sweetened condensed milk
Juice of 2 lemons
Grated rind of 2 lemons
1 cup blueberries (I used frozen wild blueberries)
Fold in:
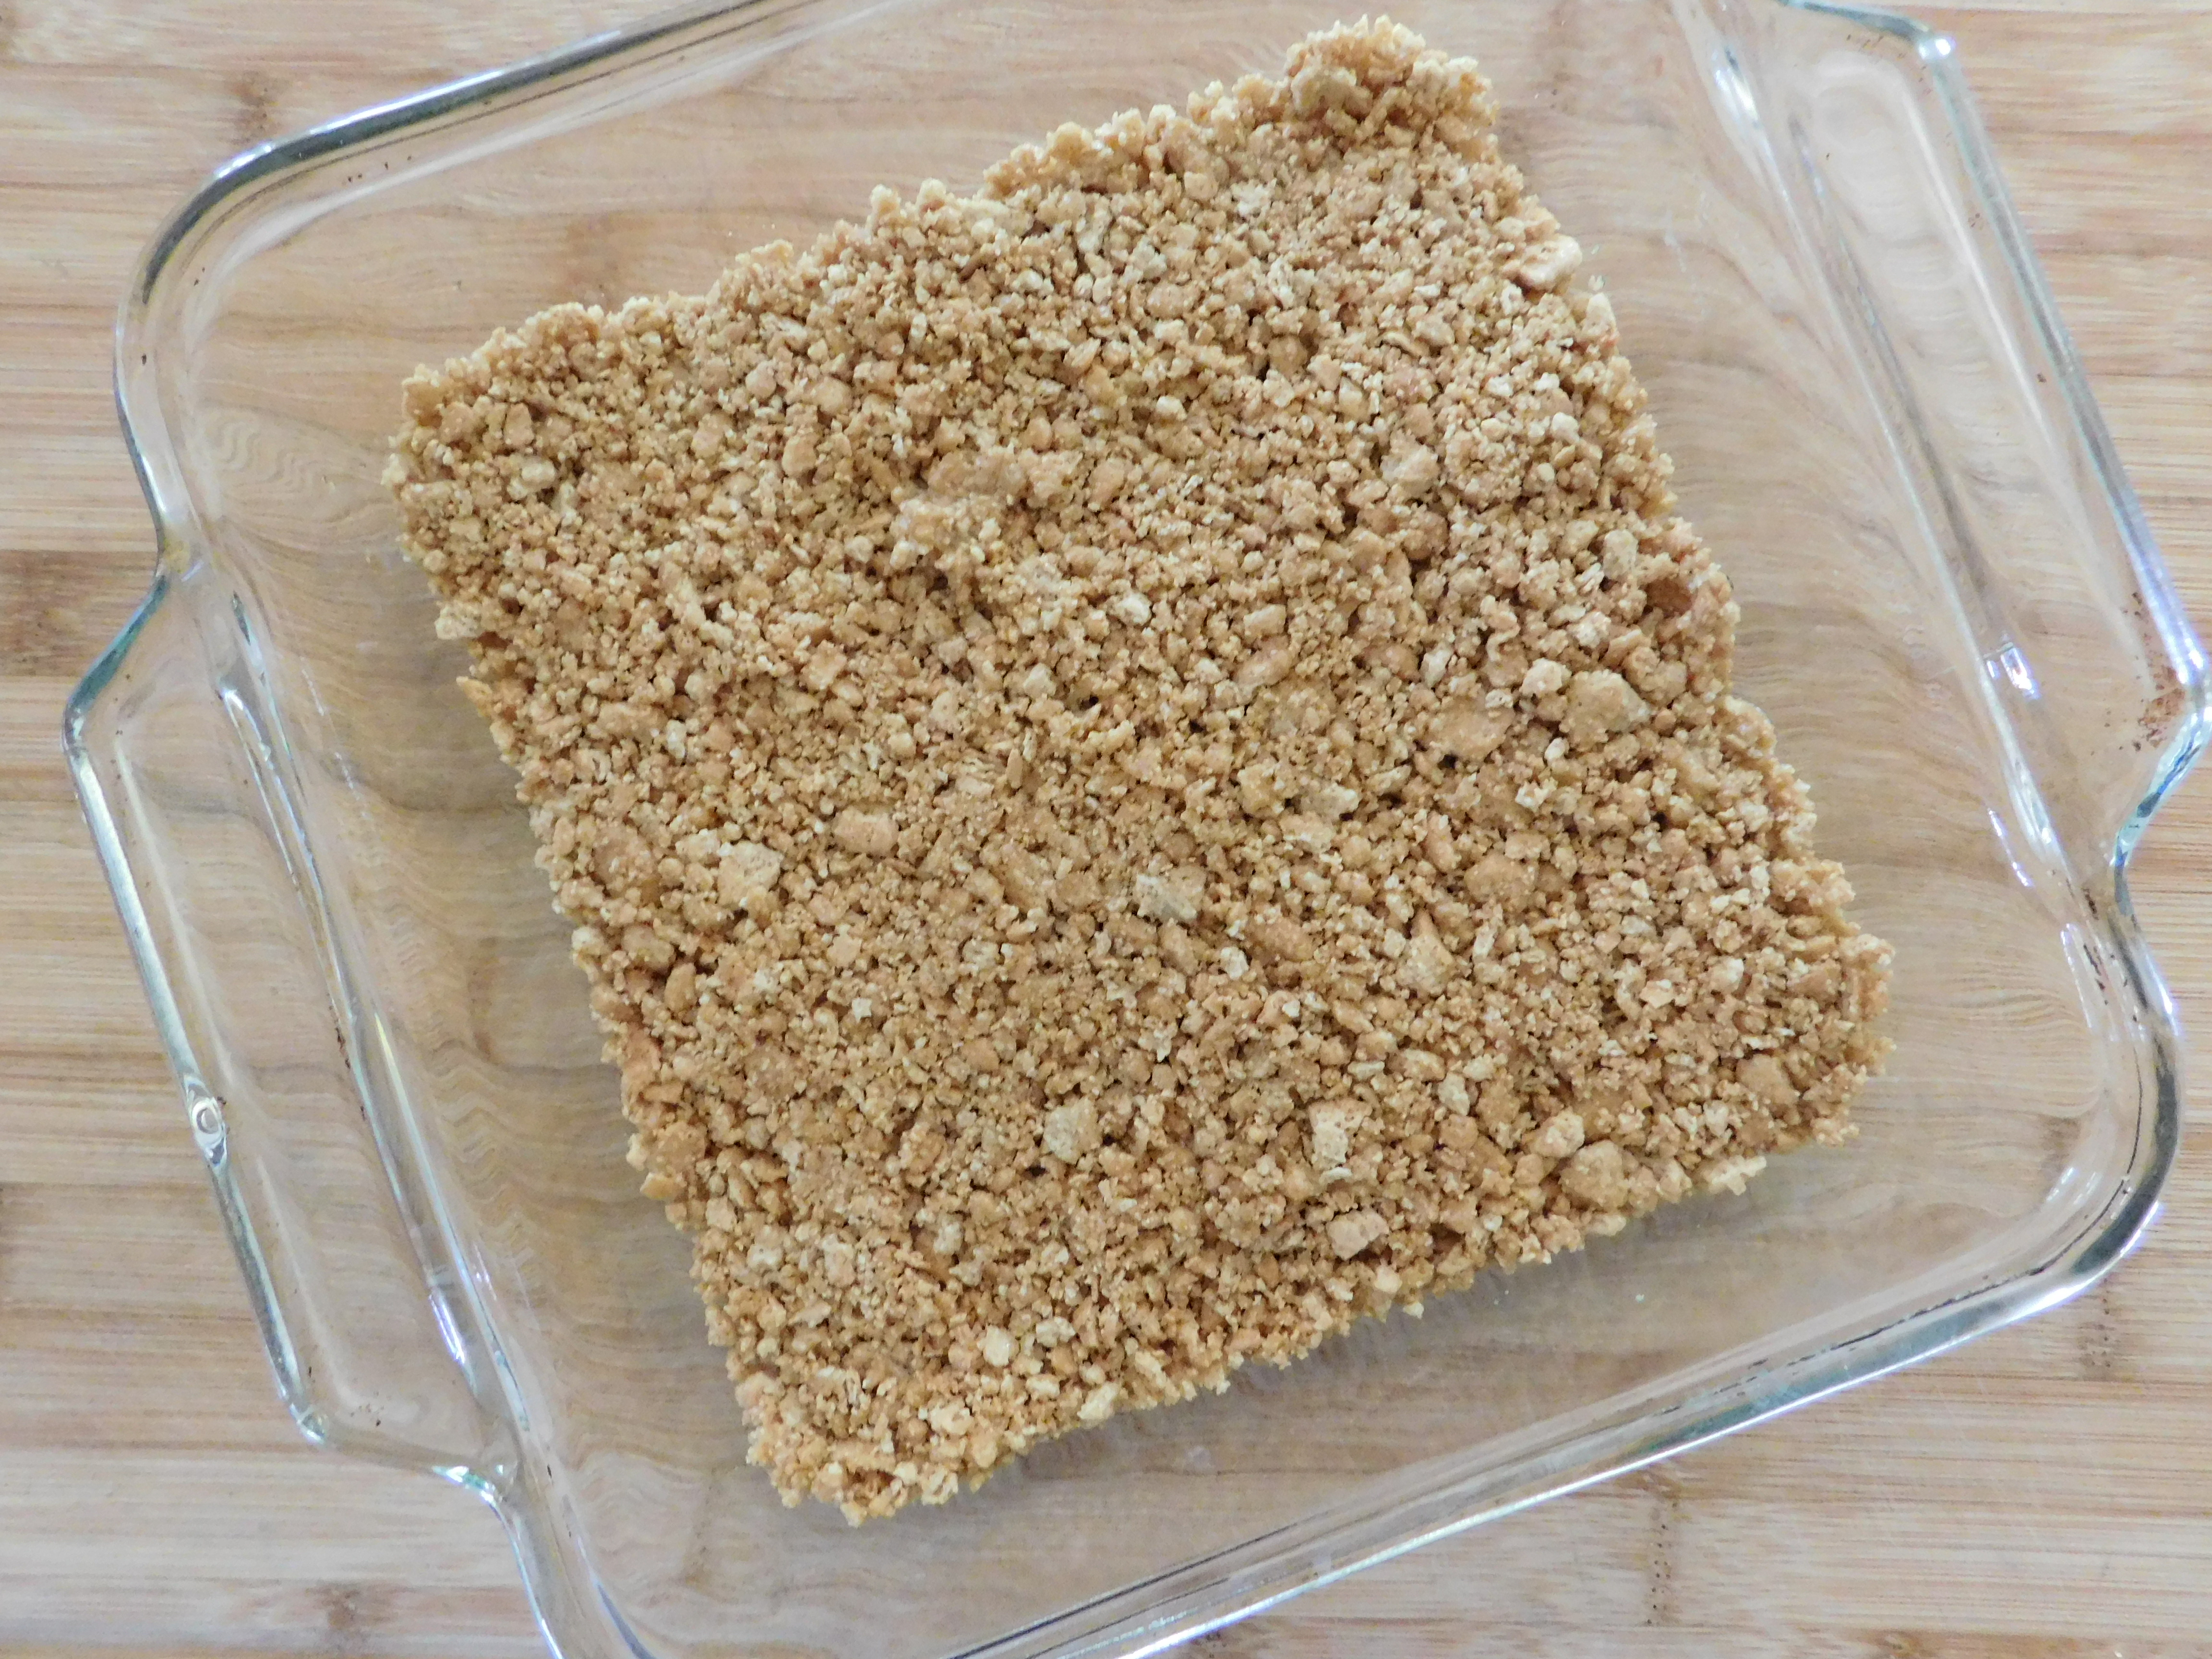
1 pint whipping cream, whipped
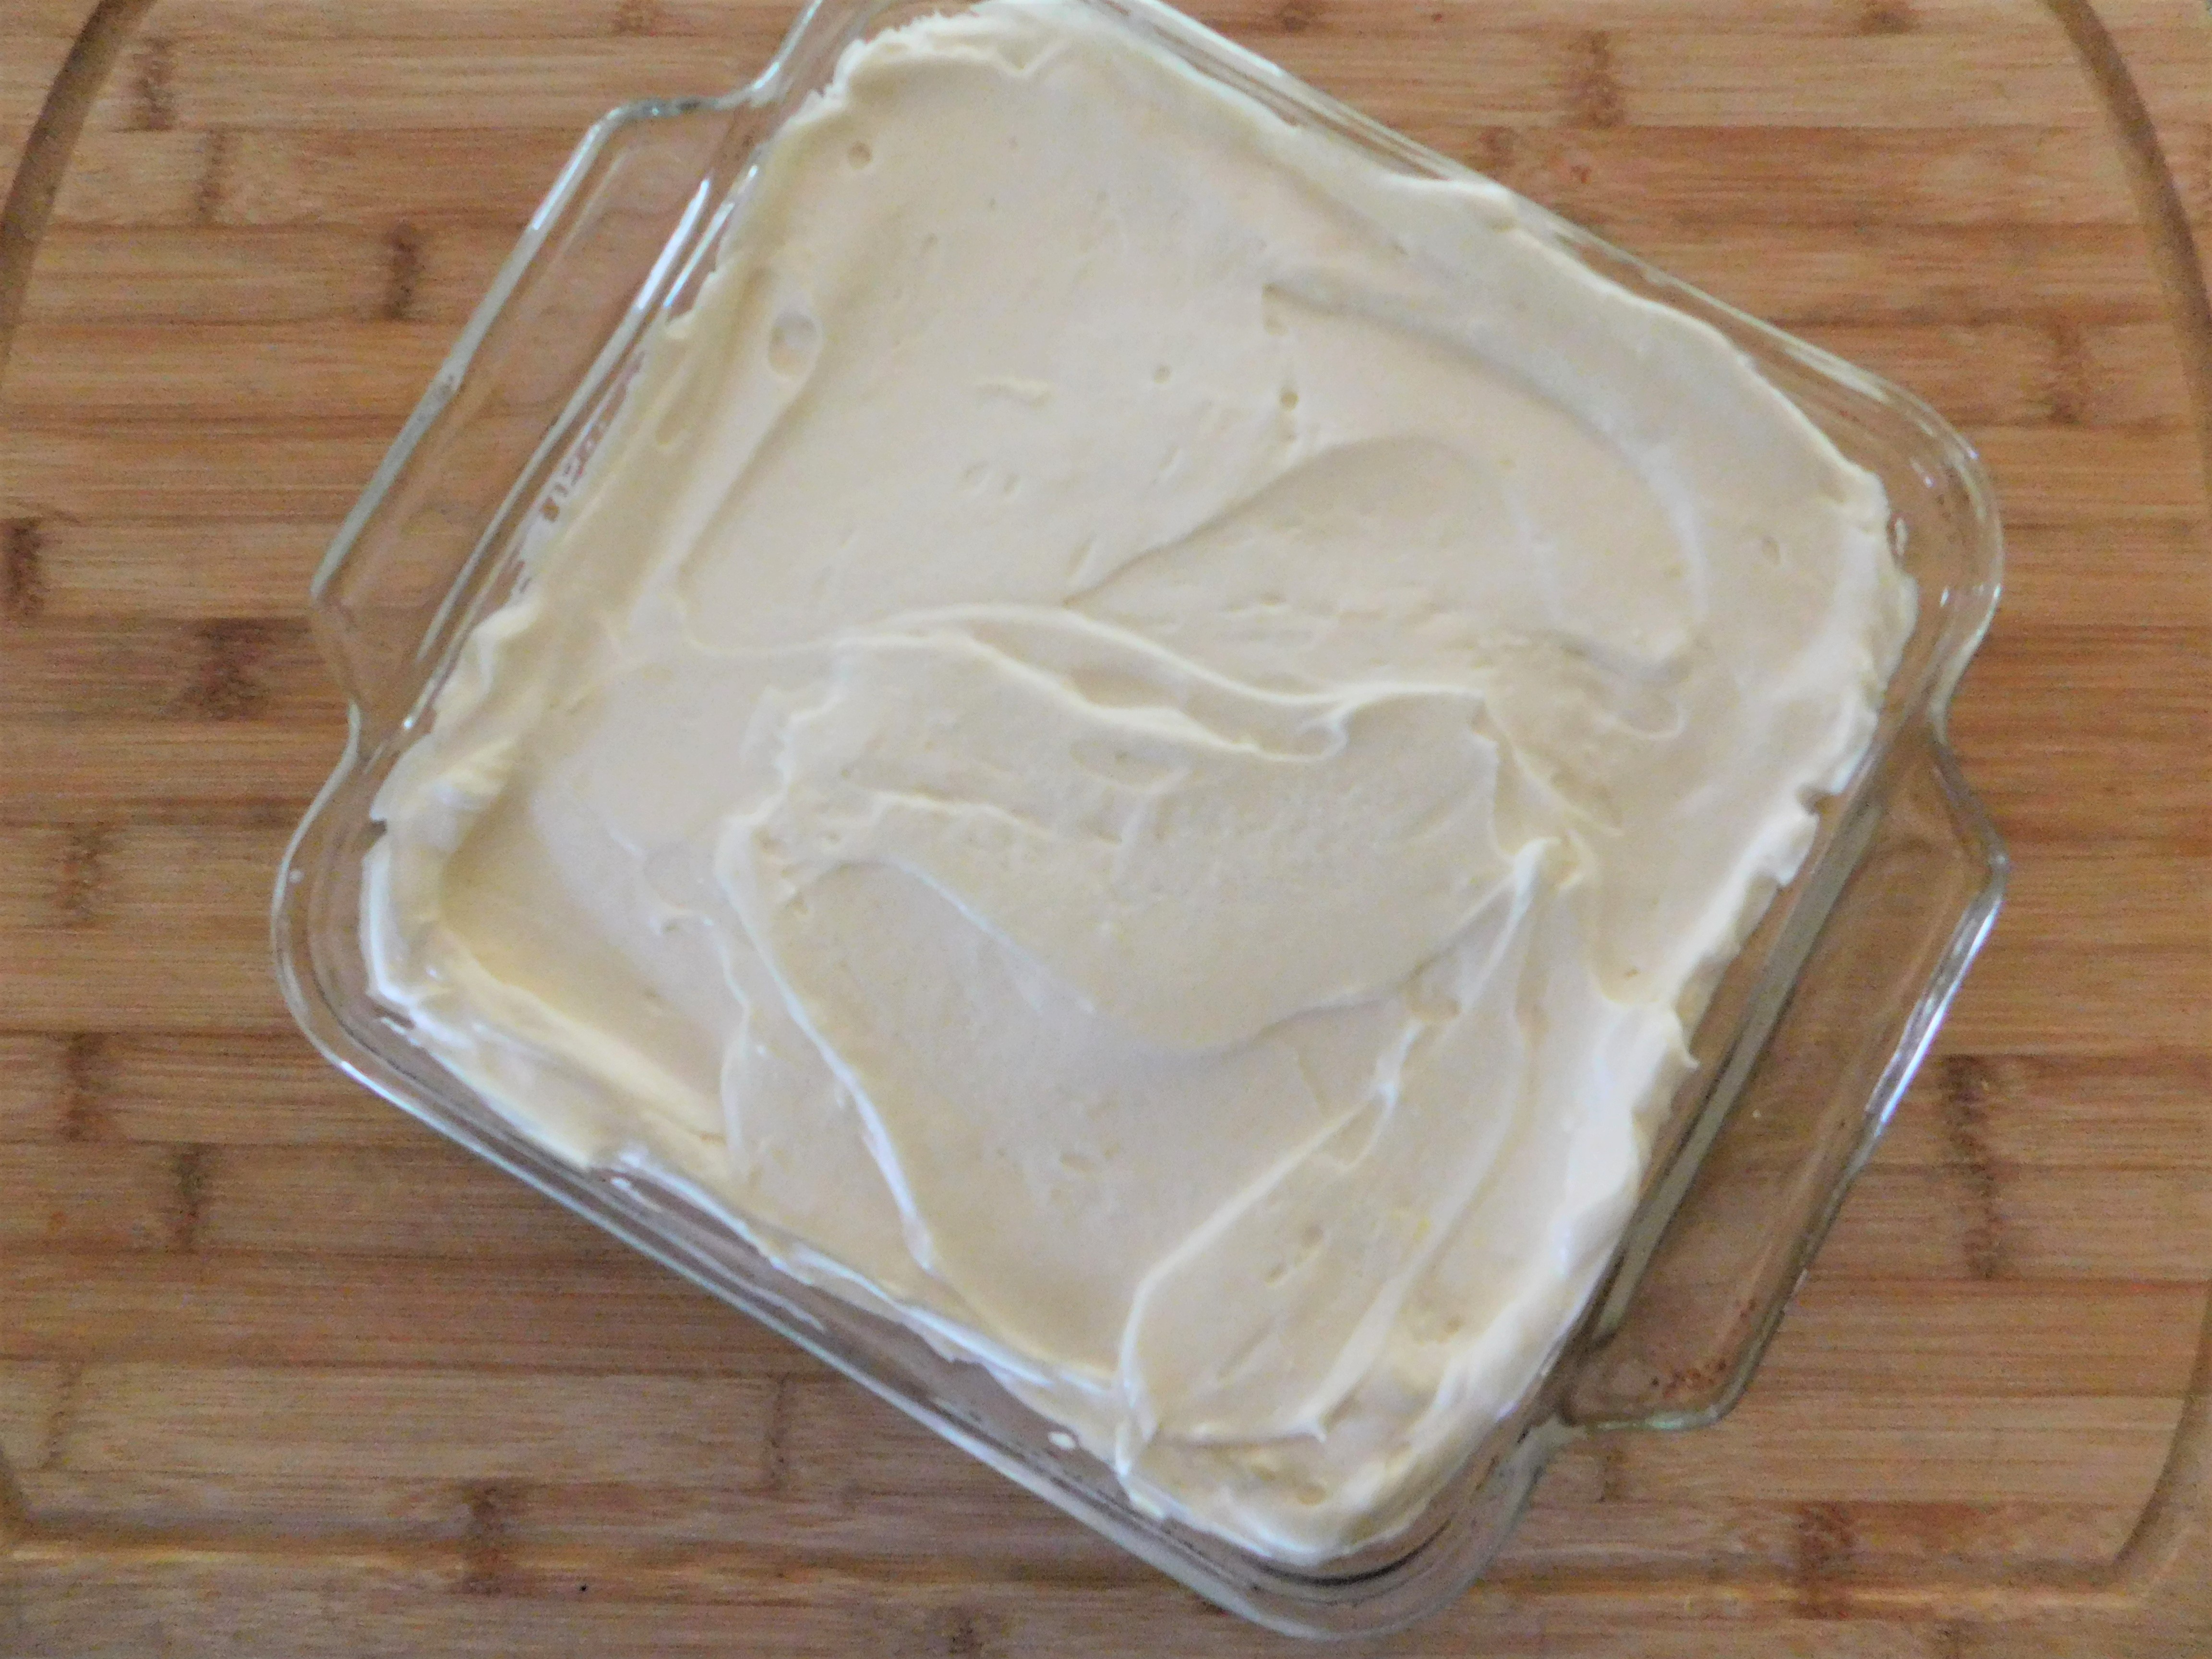
Put mixture into bread loaf pan and freeze.
Let freeze several hours or overnight.
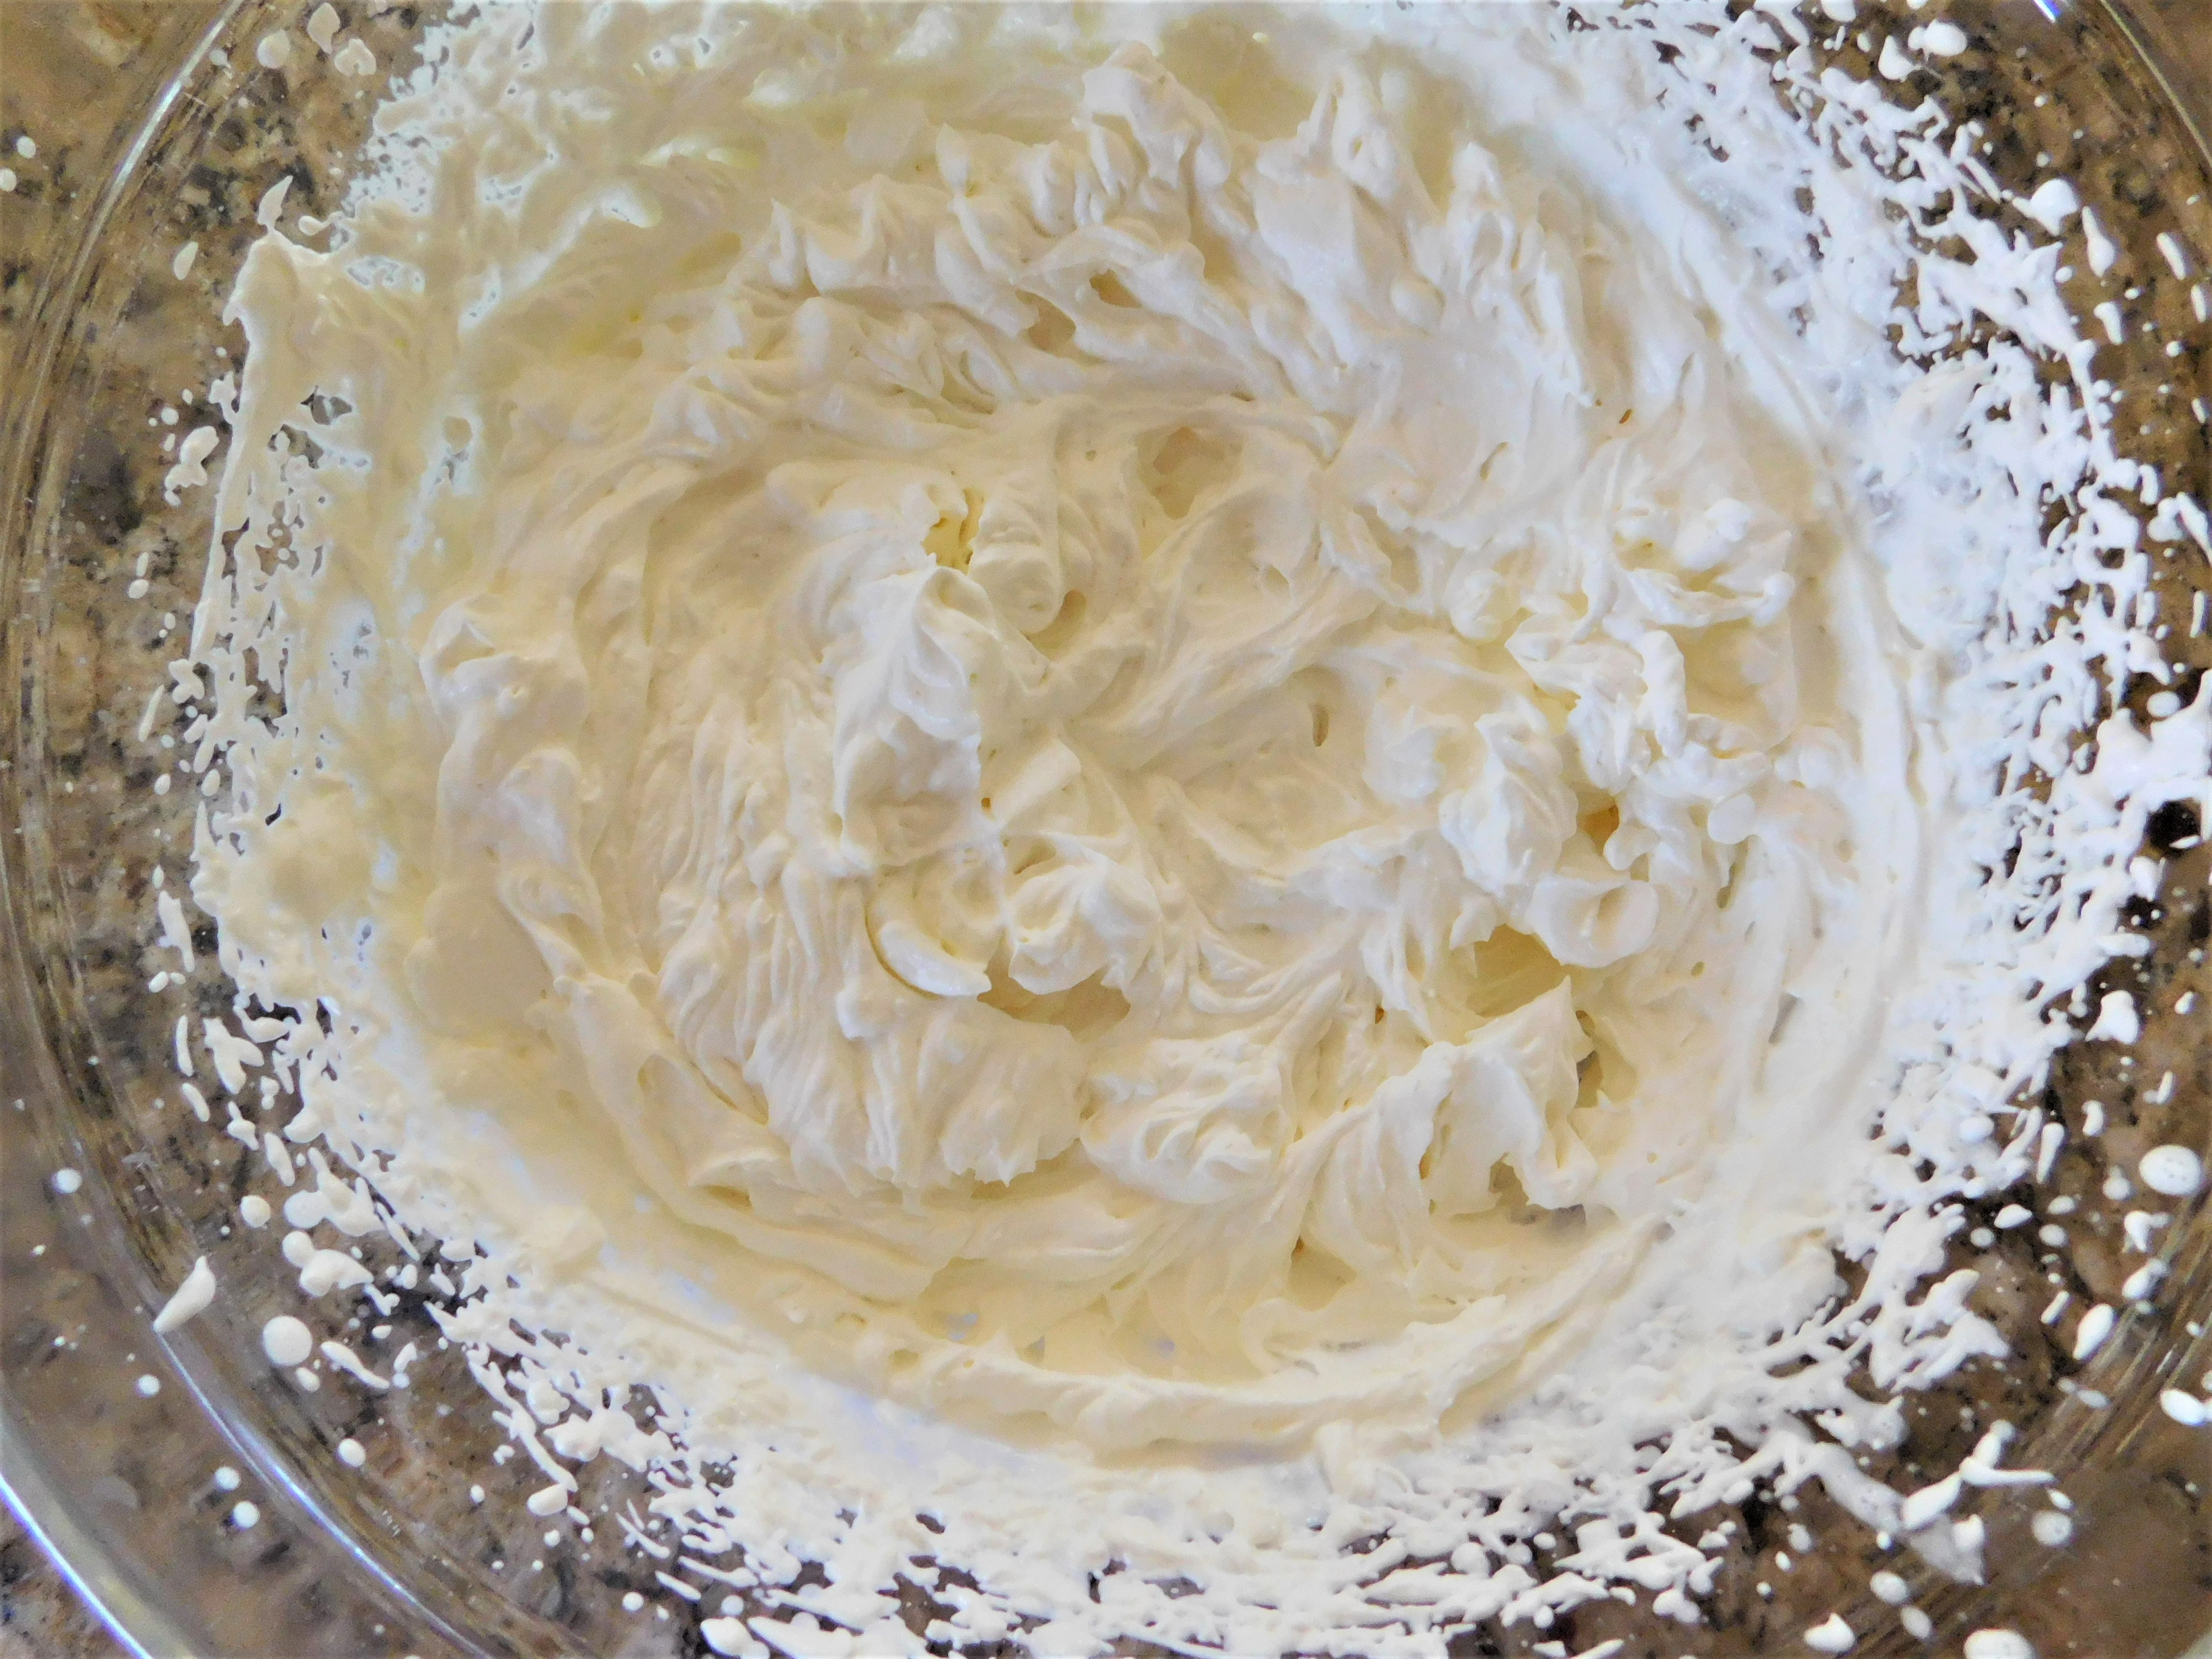
I whip the whipping cream first and keep it in the refrigerator while mixing the lemon mixture.
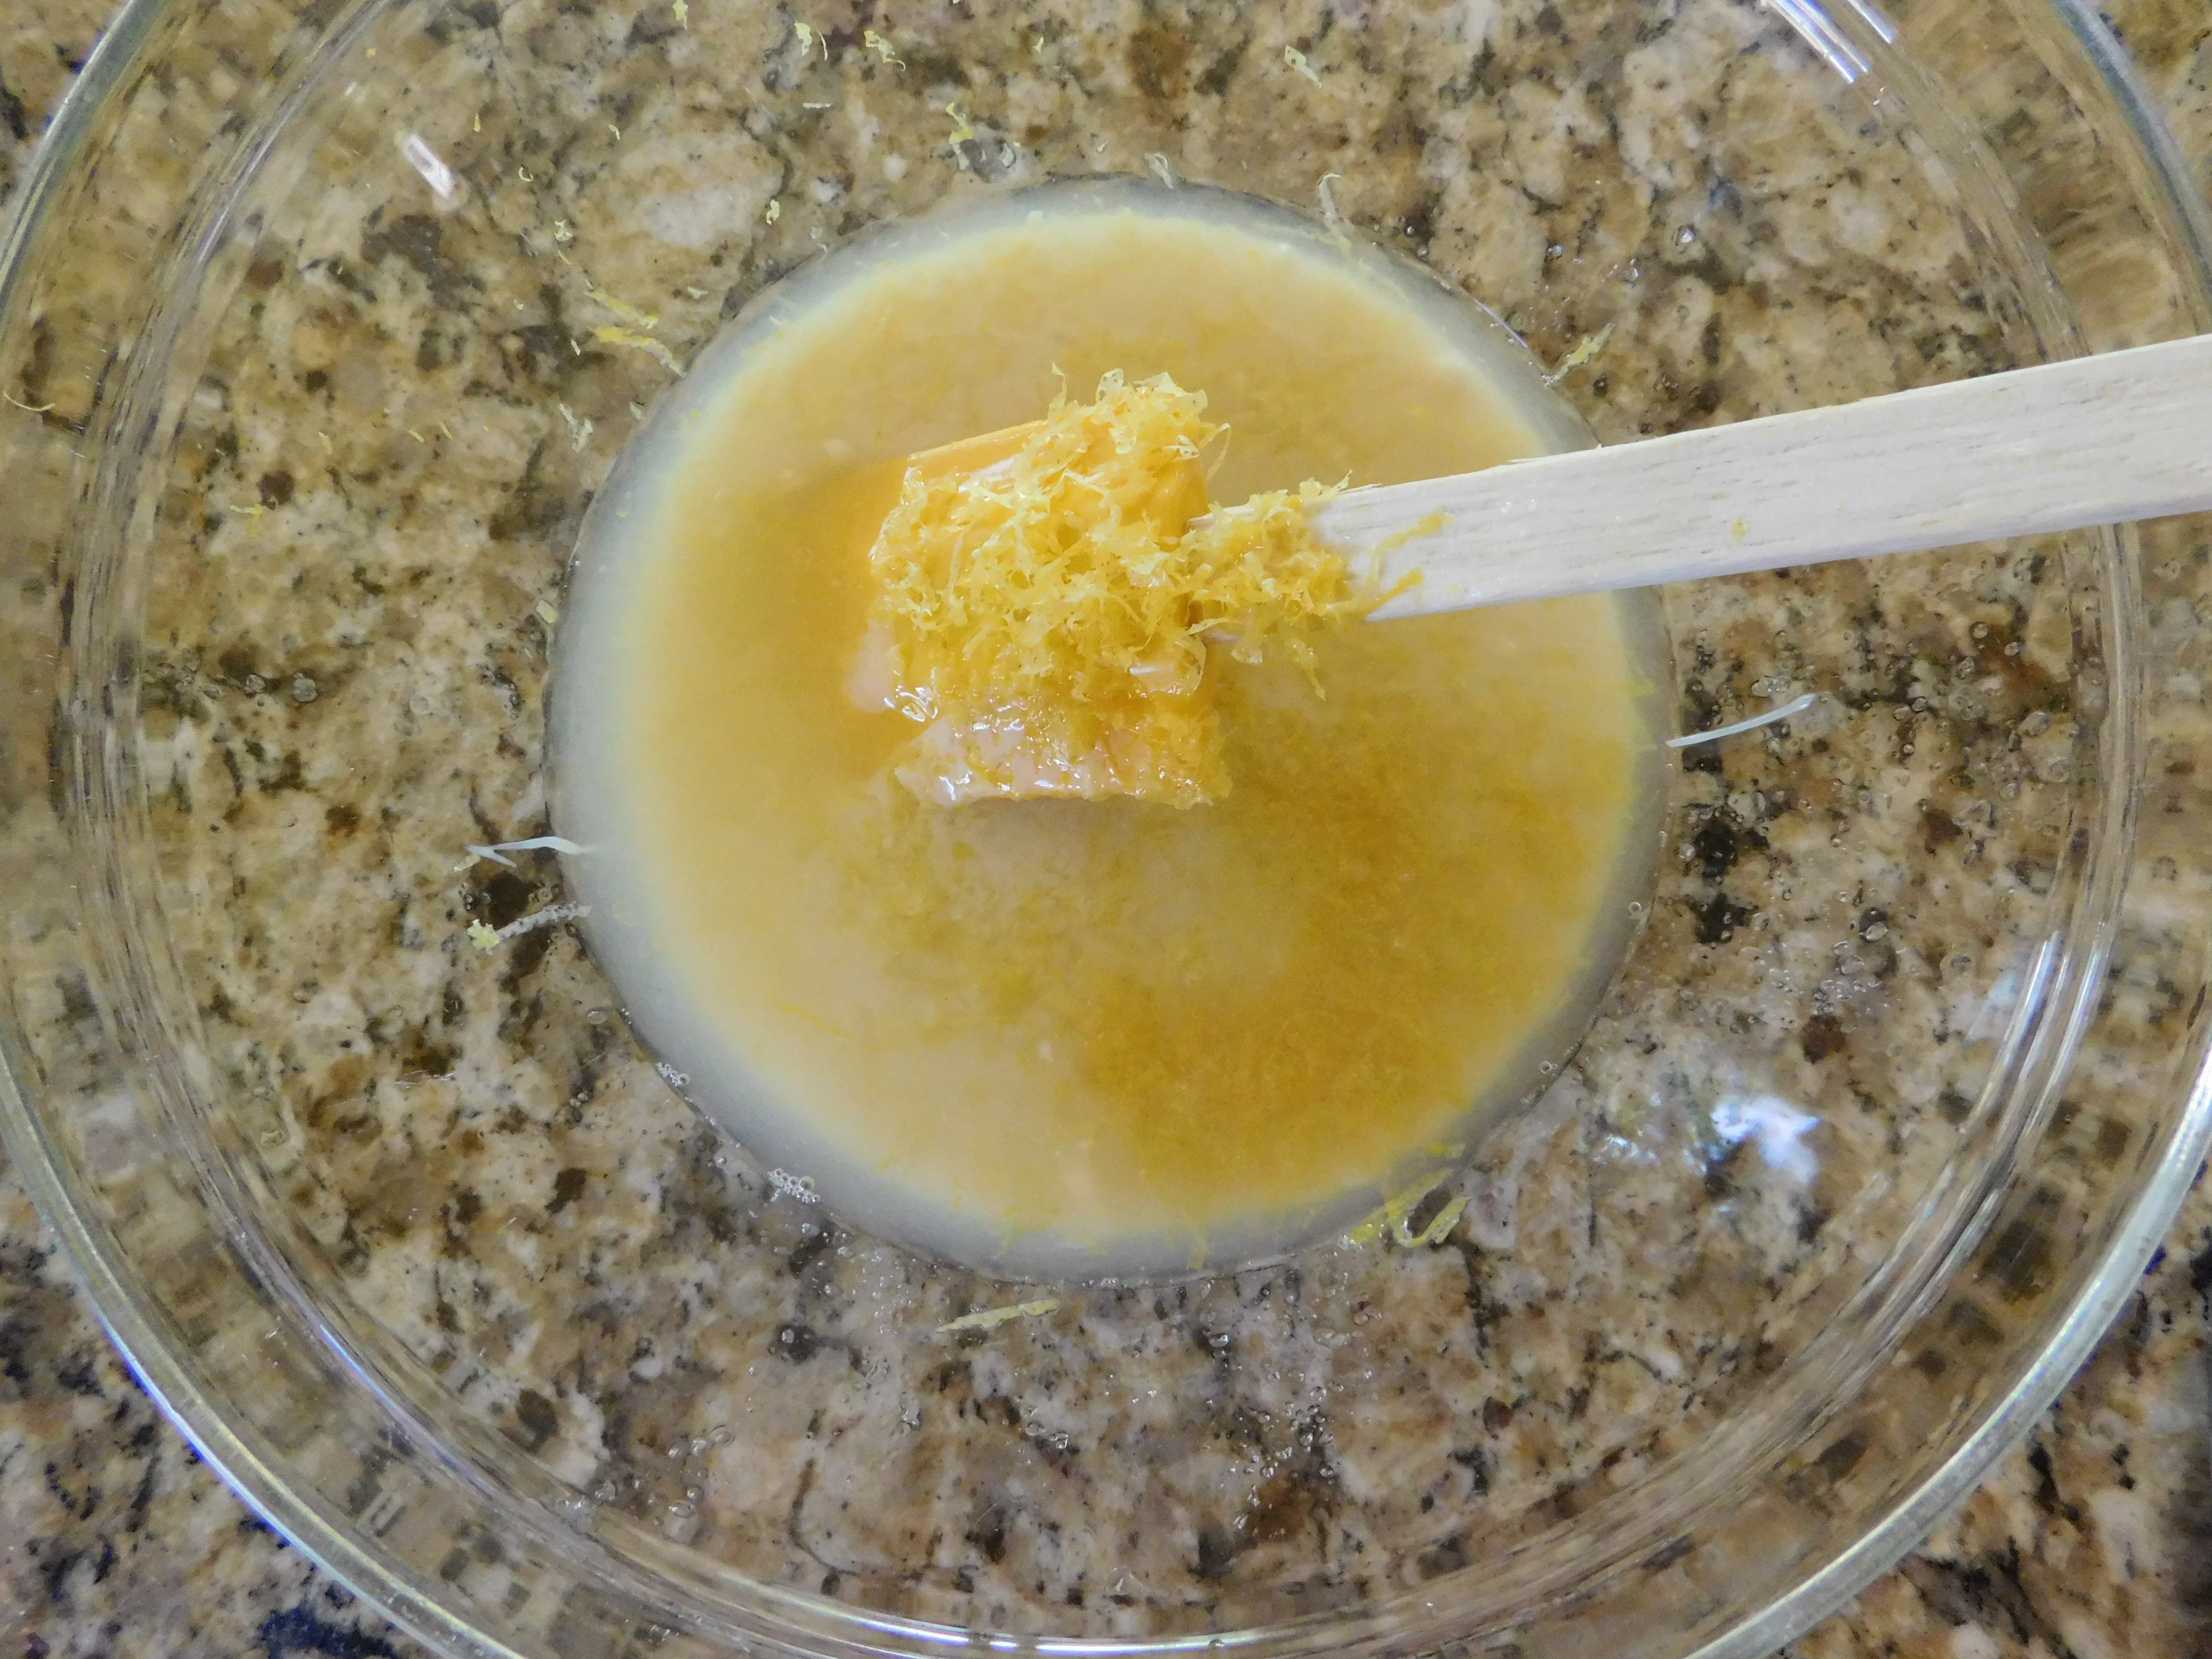
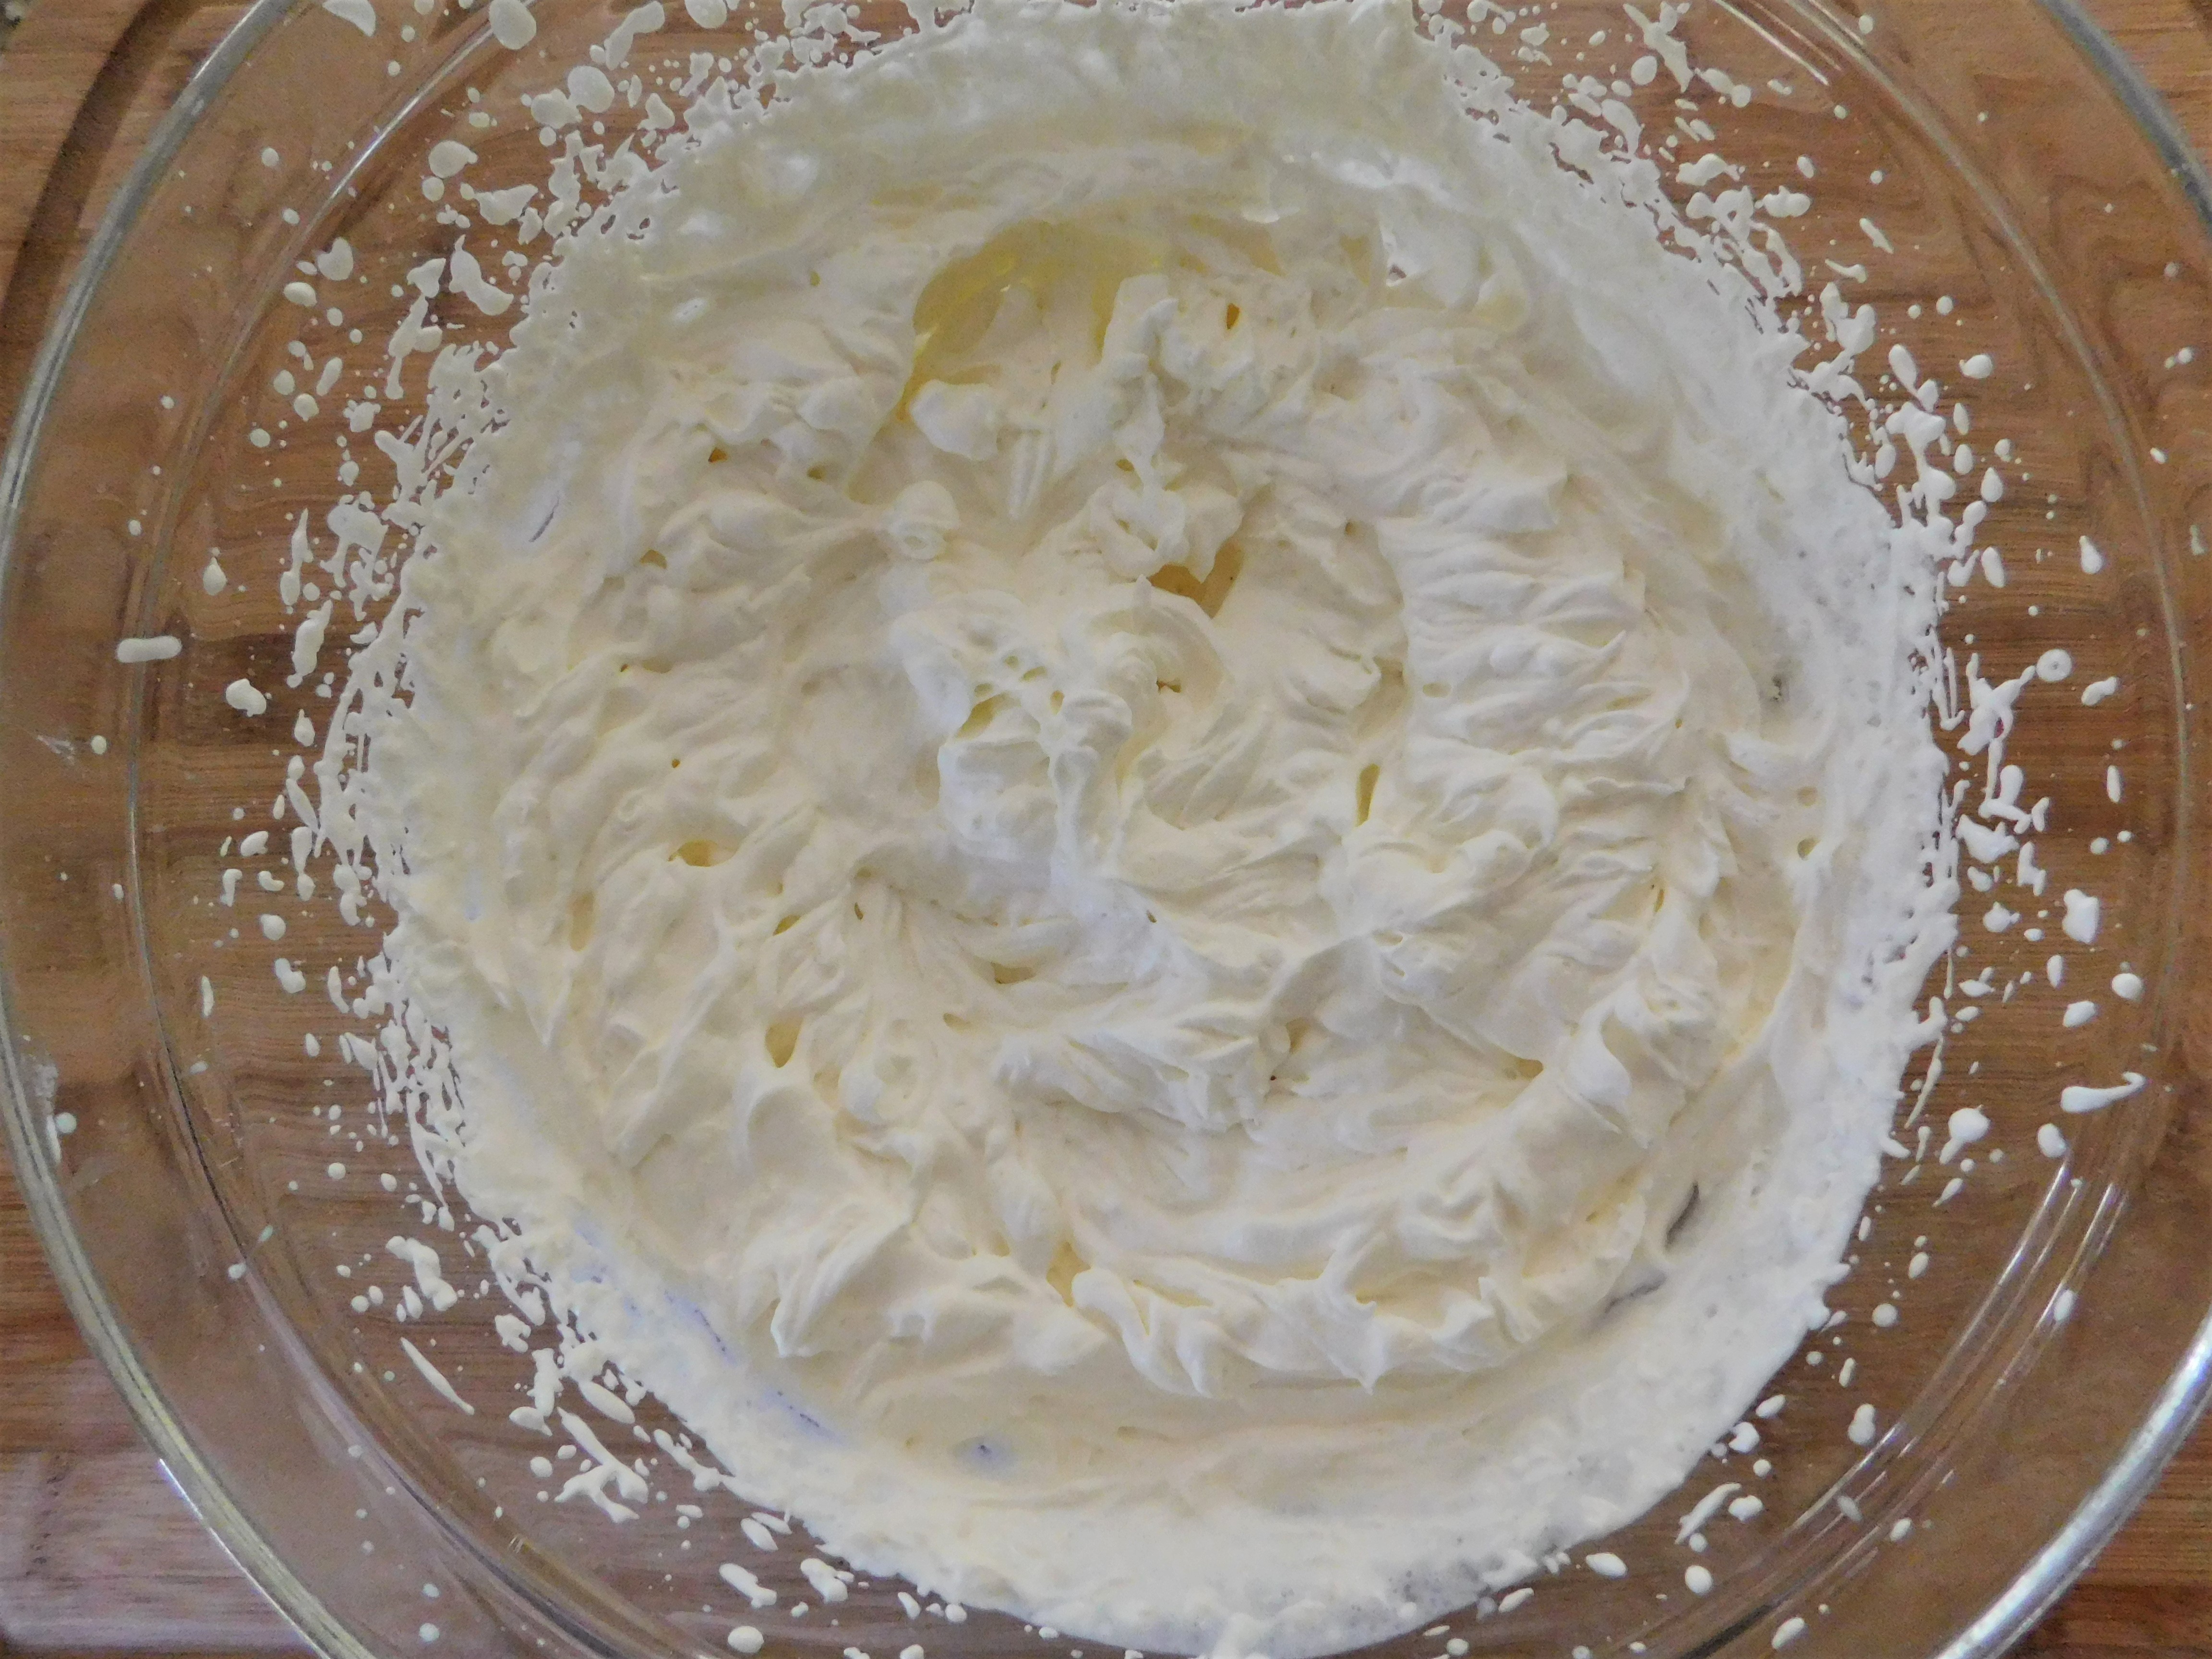
First, beat together the sweetened condensed milk and the lemon juice and lemon rind.
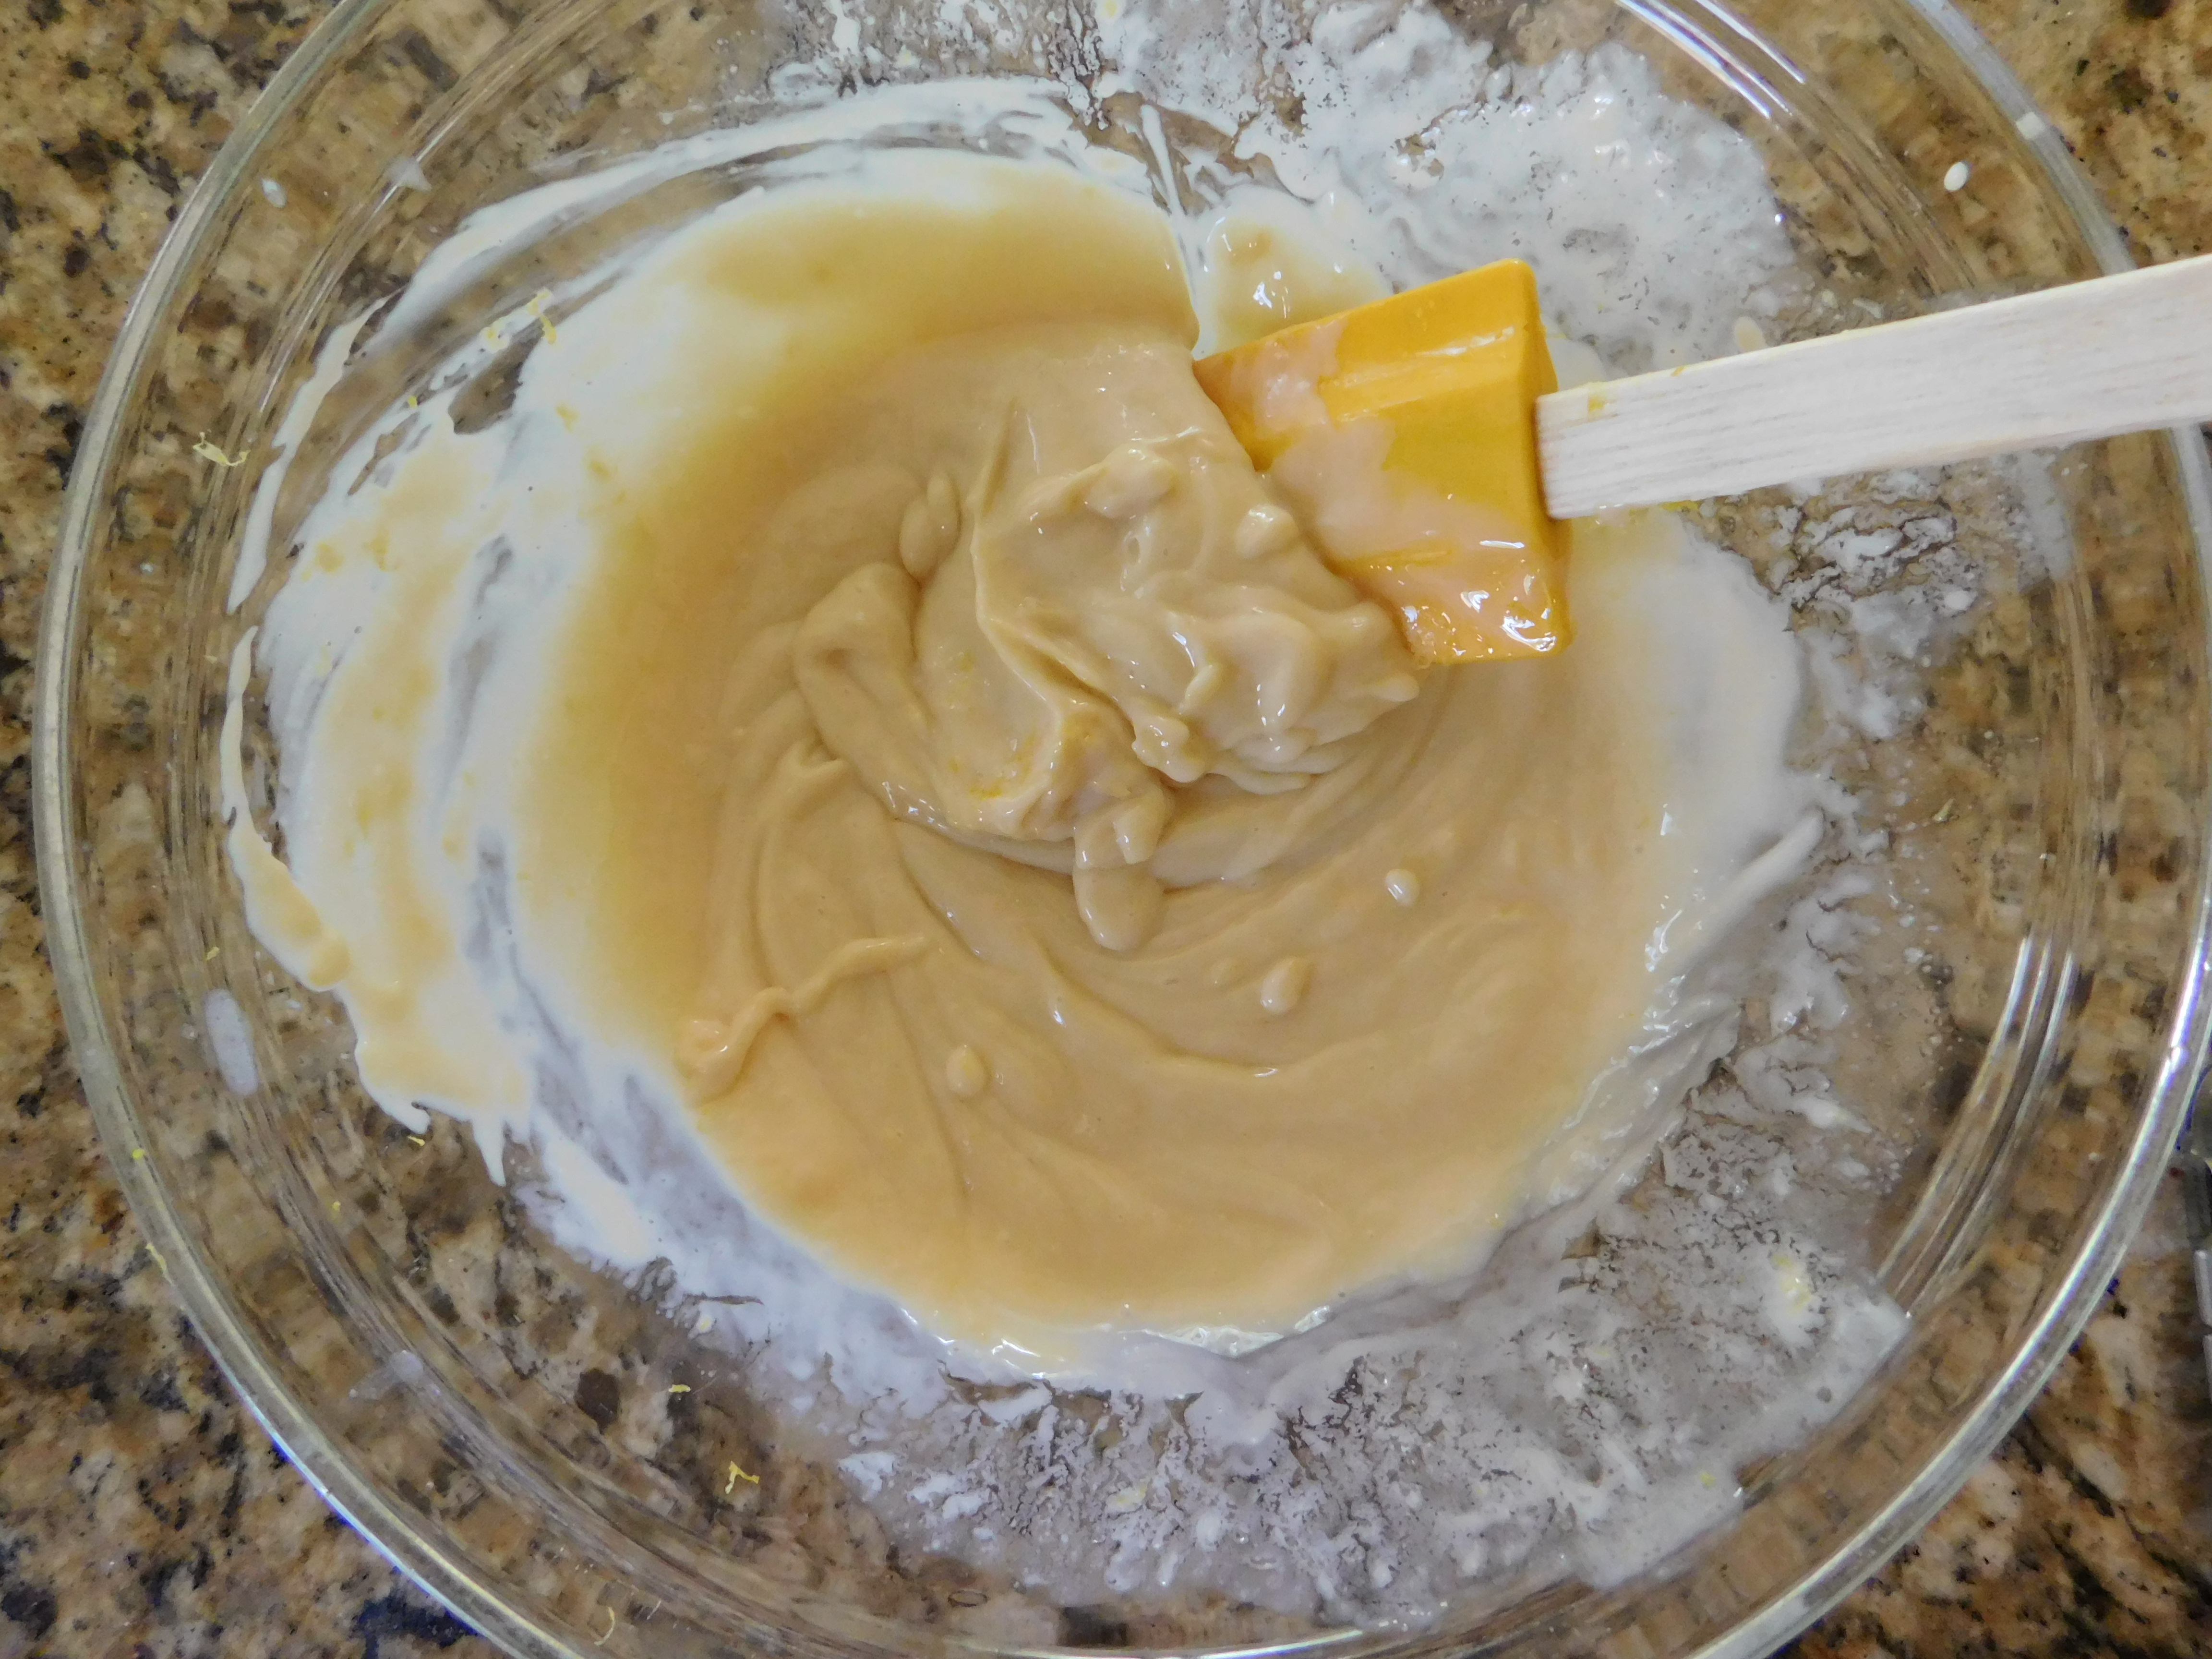
It makes a nice, smooth mixture.
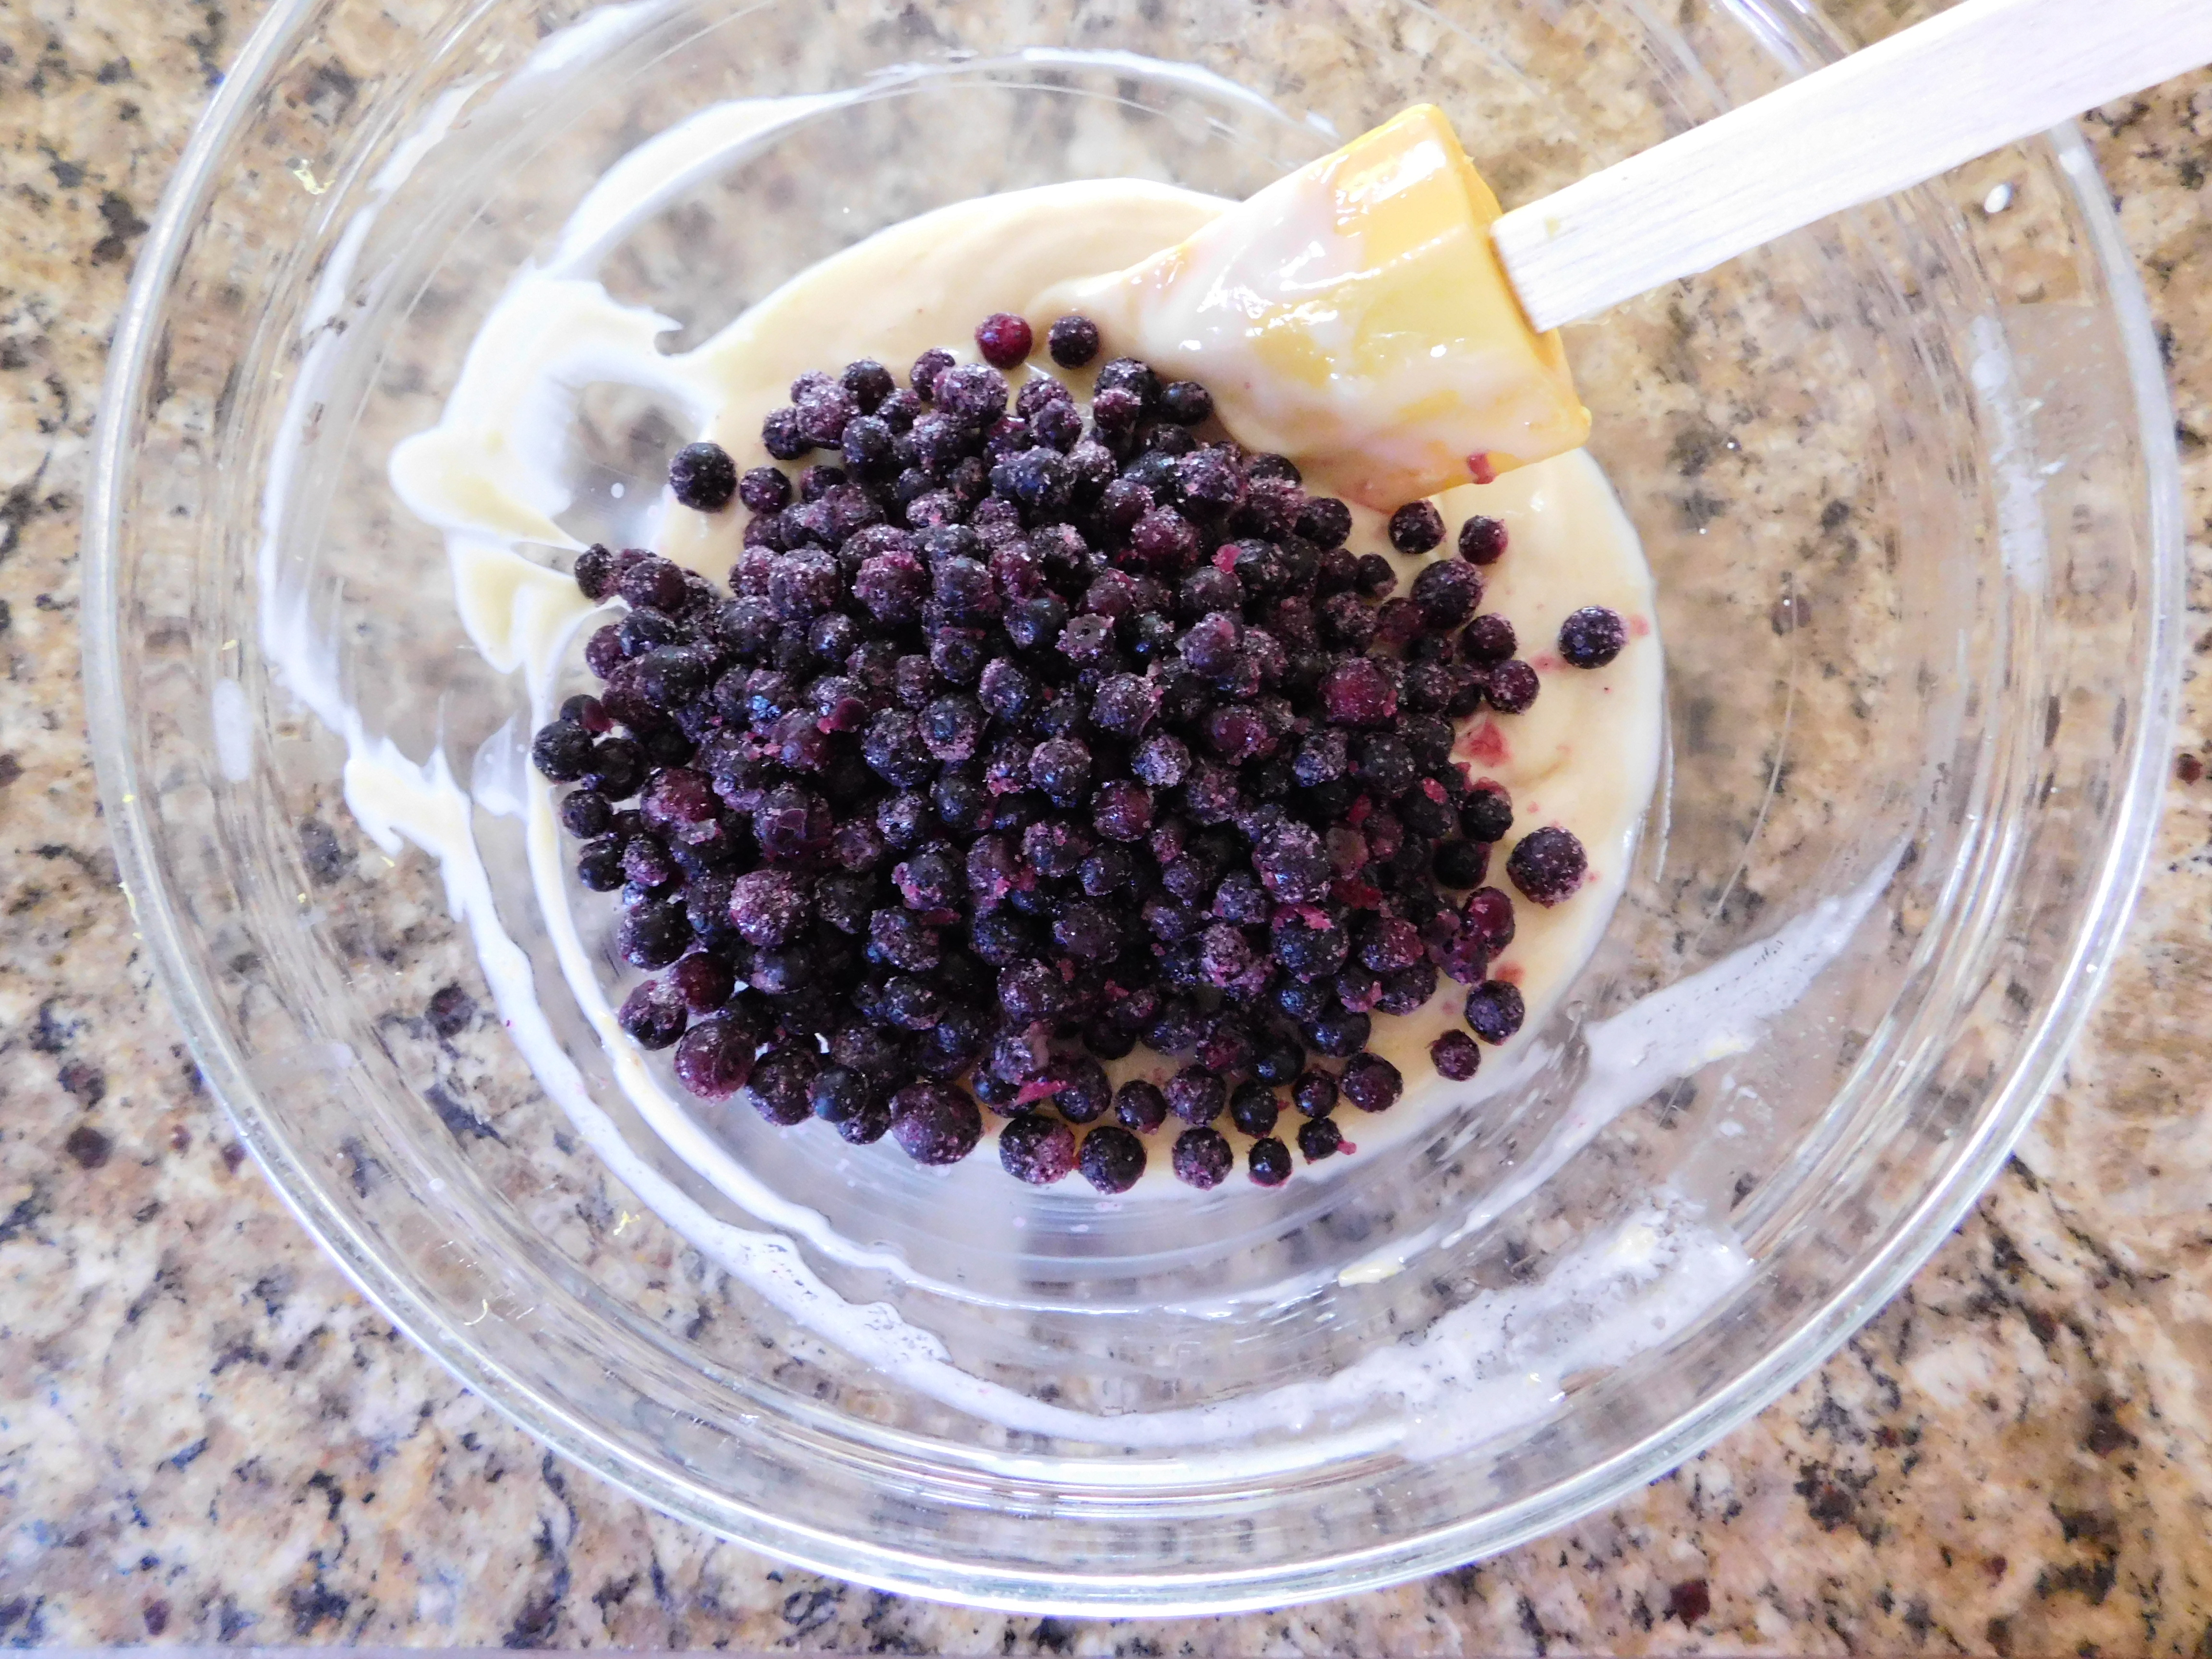
Next, add the blueberries (I’m glad I used frozen wild berries – I think regular fresh blueberries might make big frozen chunks).
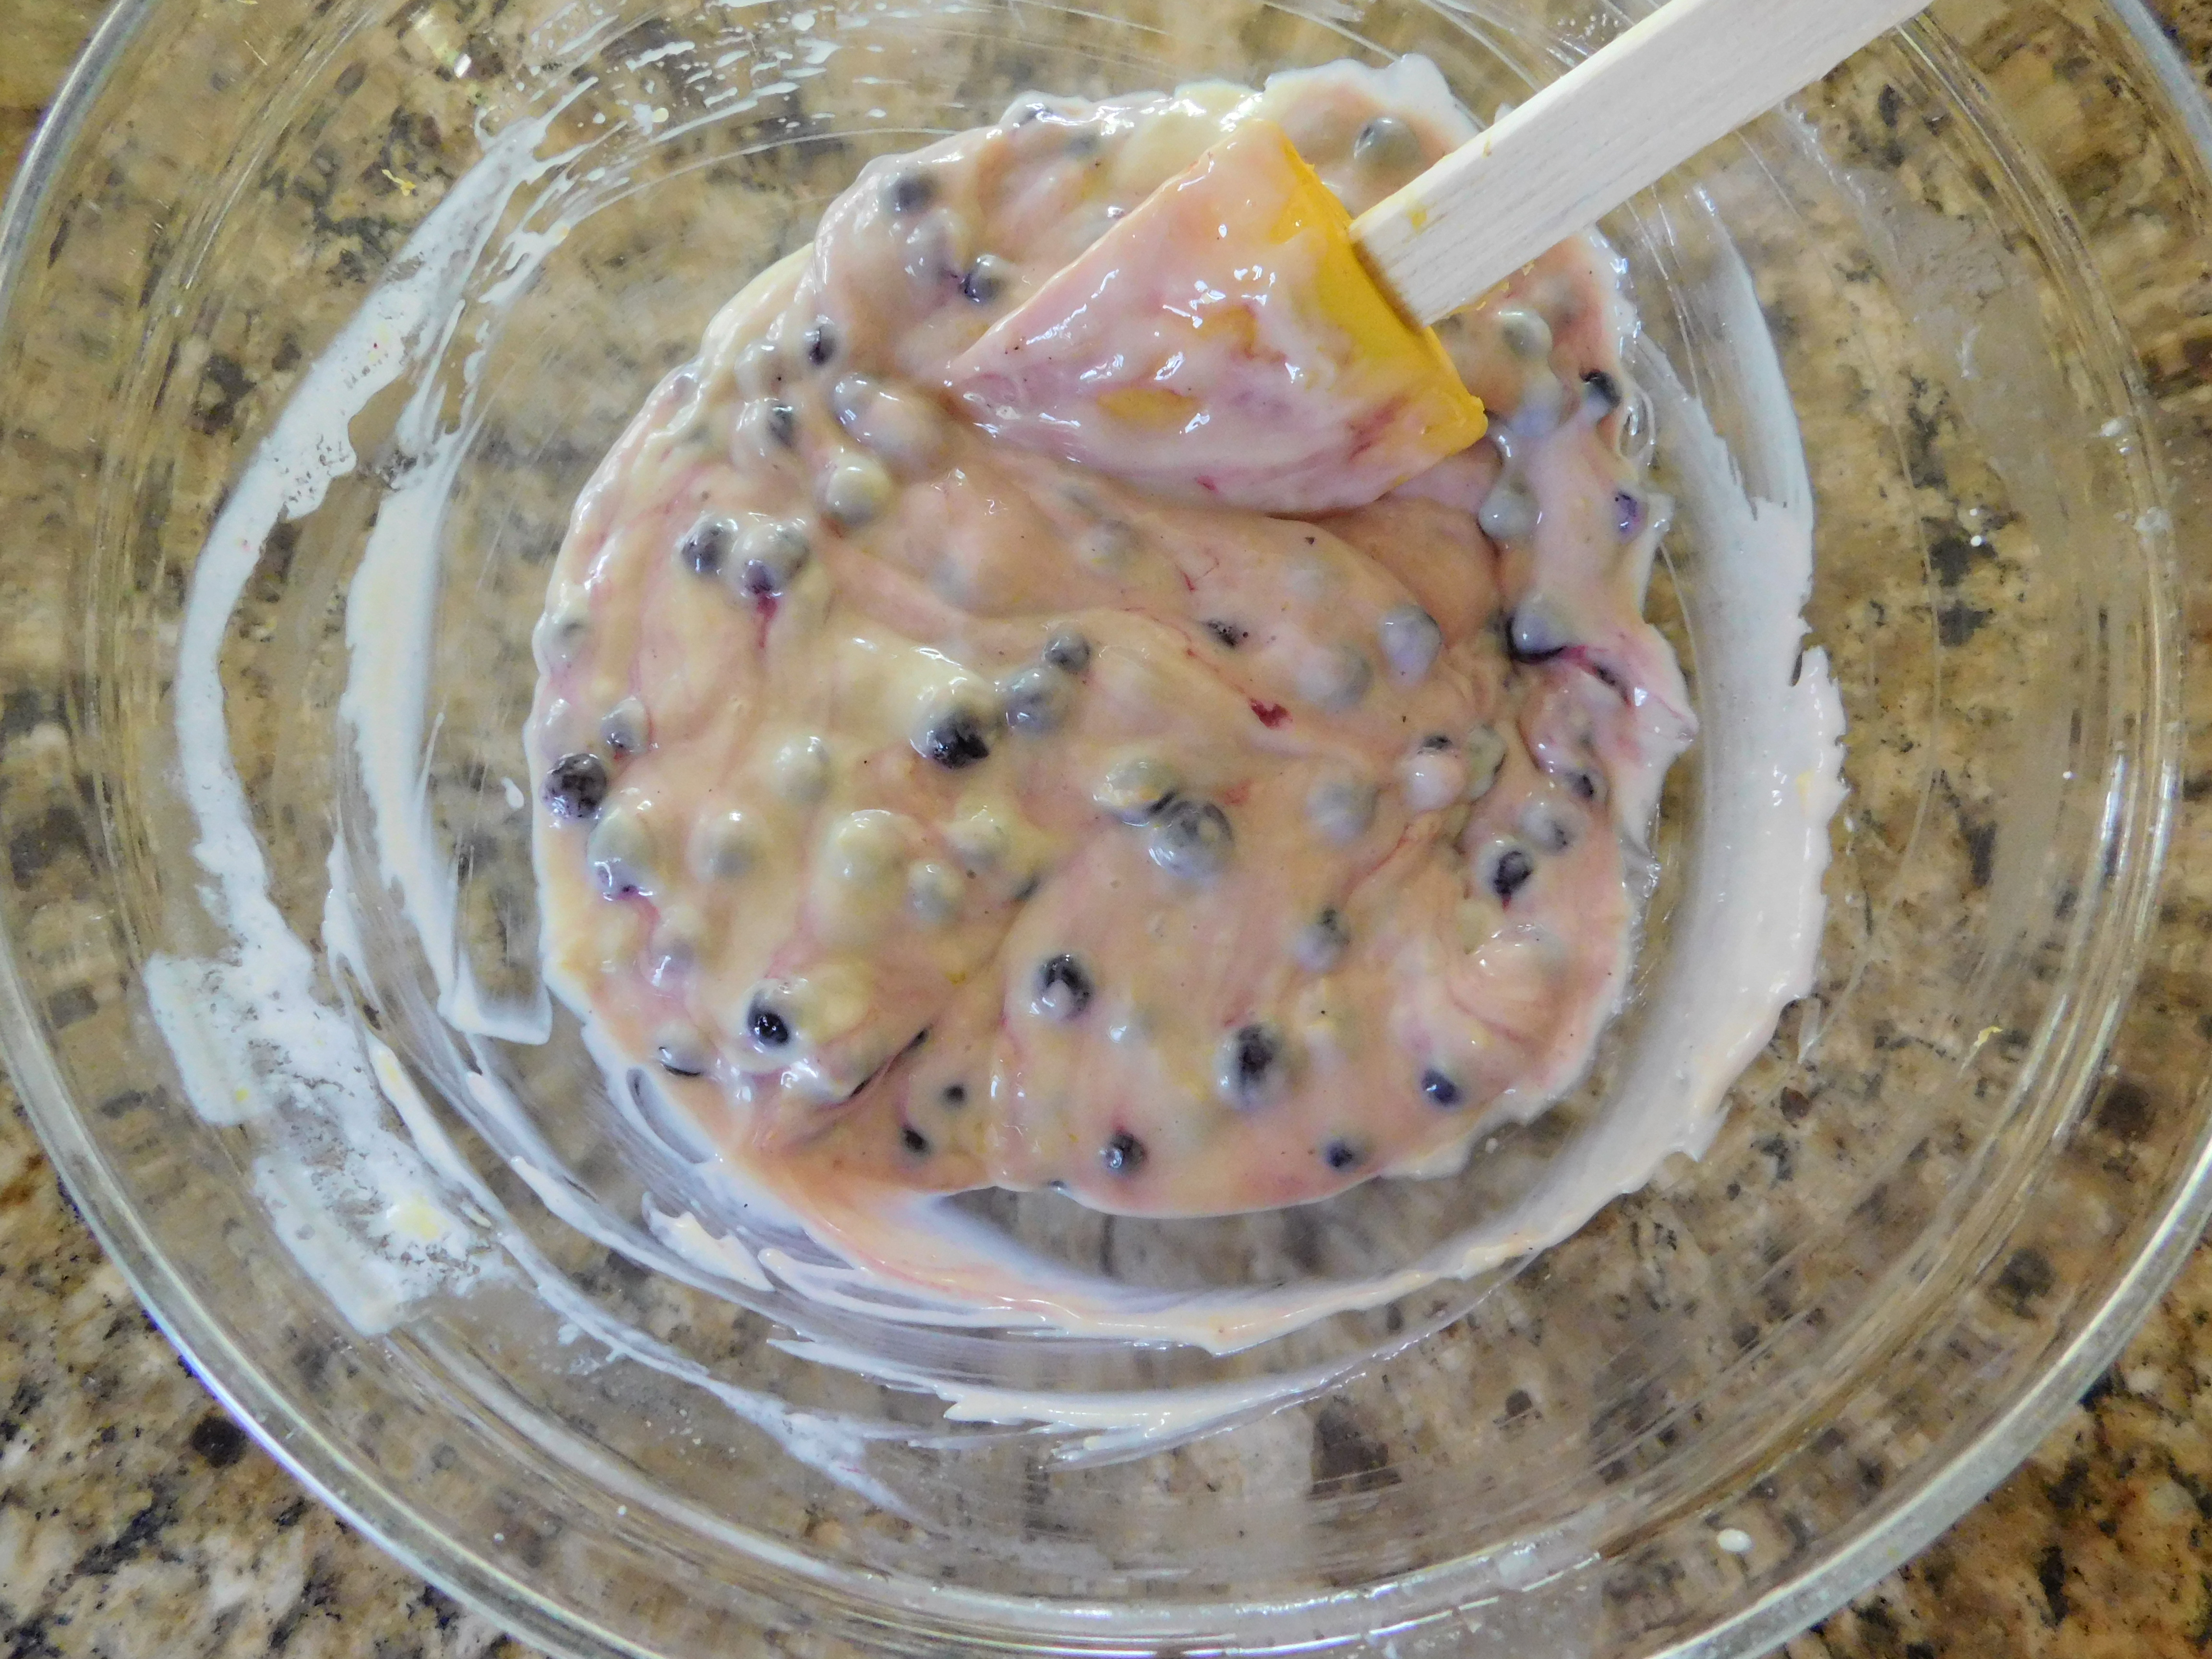
You end up with a bit of a lavender-colored mixture when adding the blueberries.
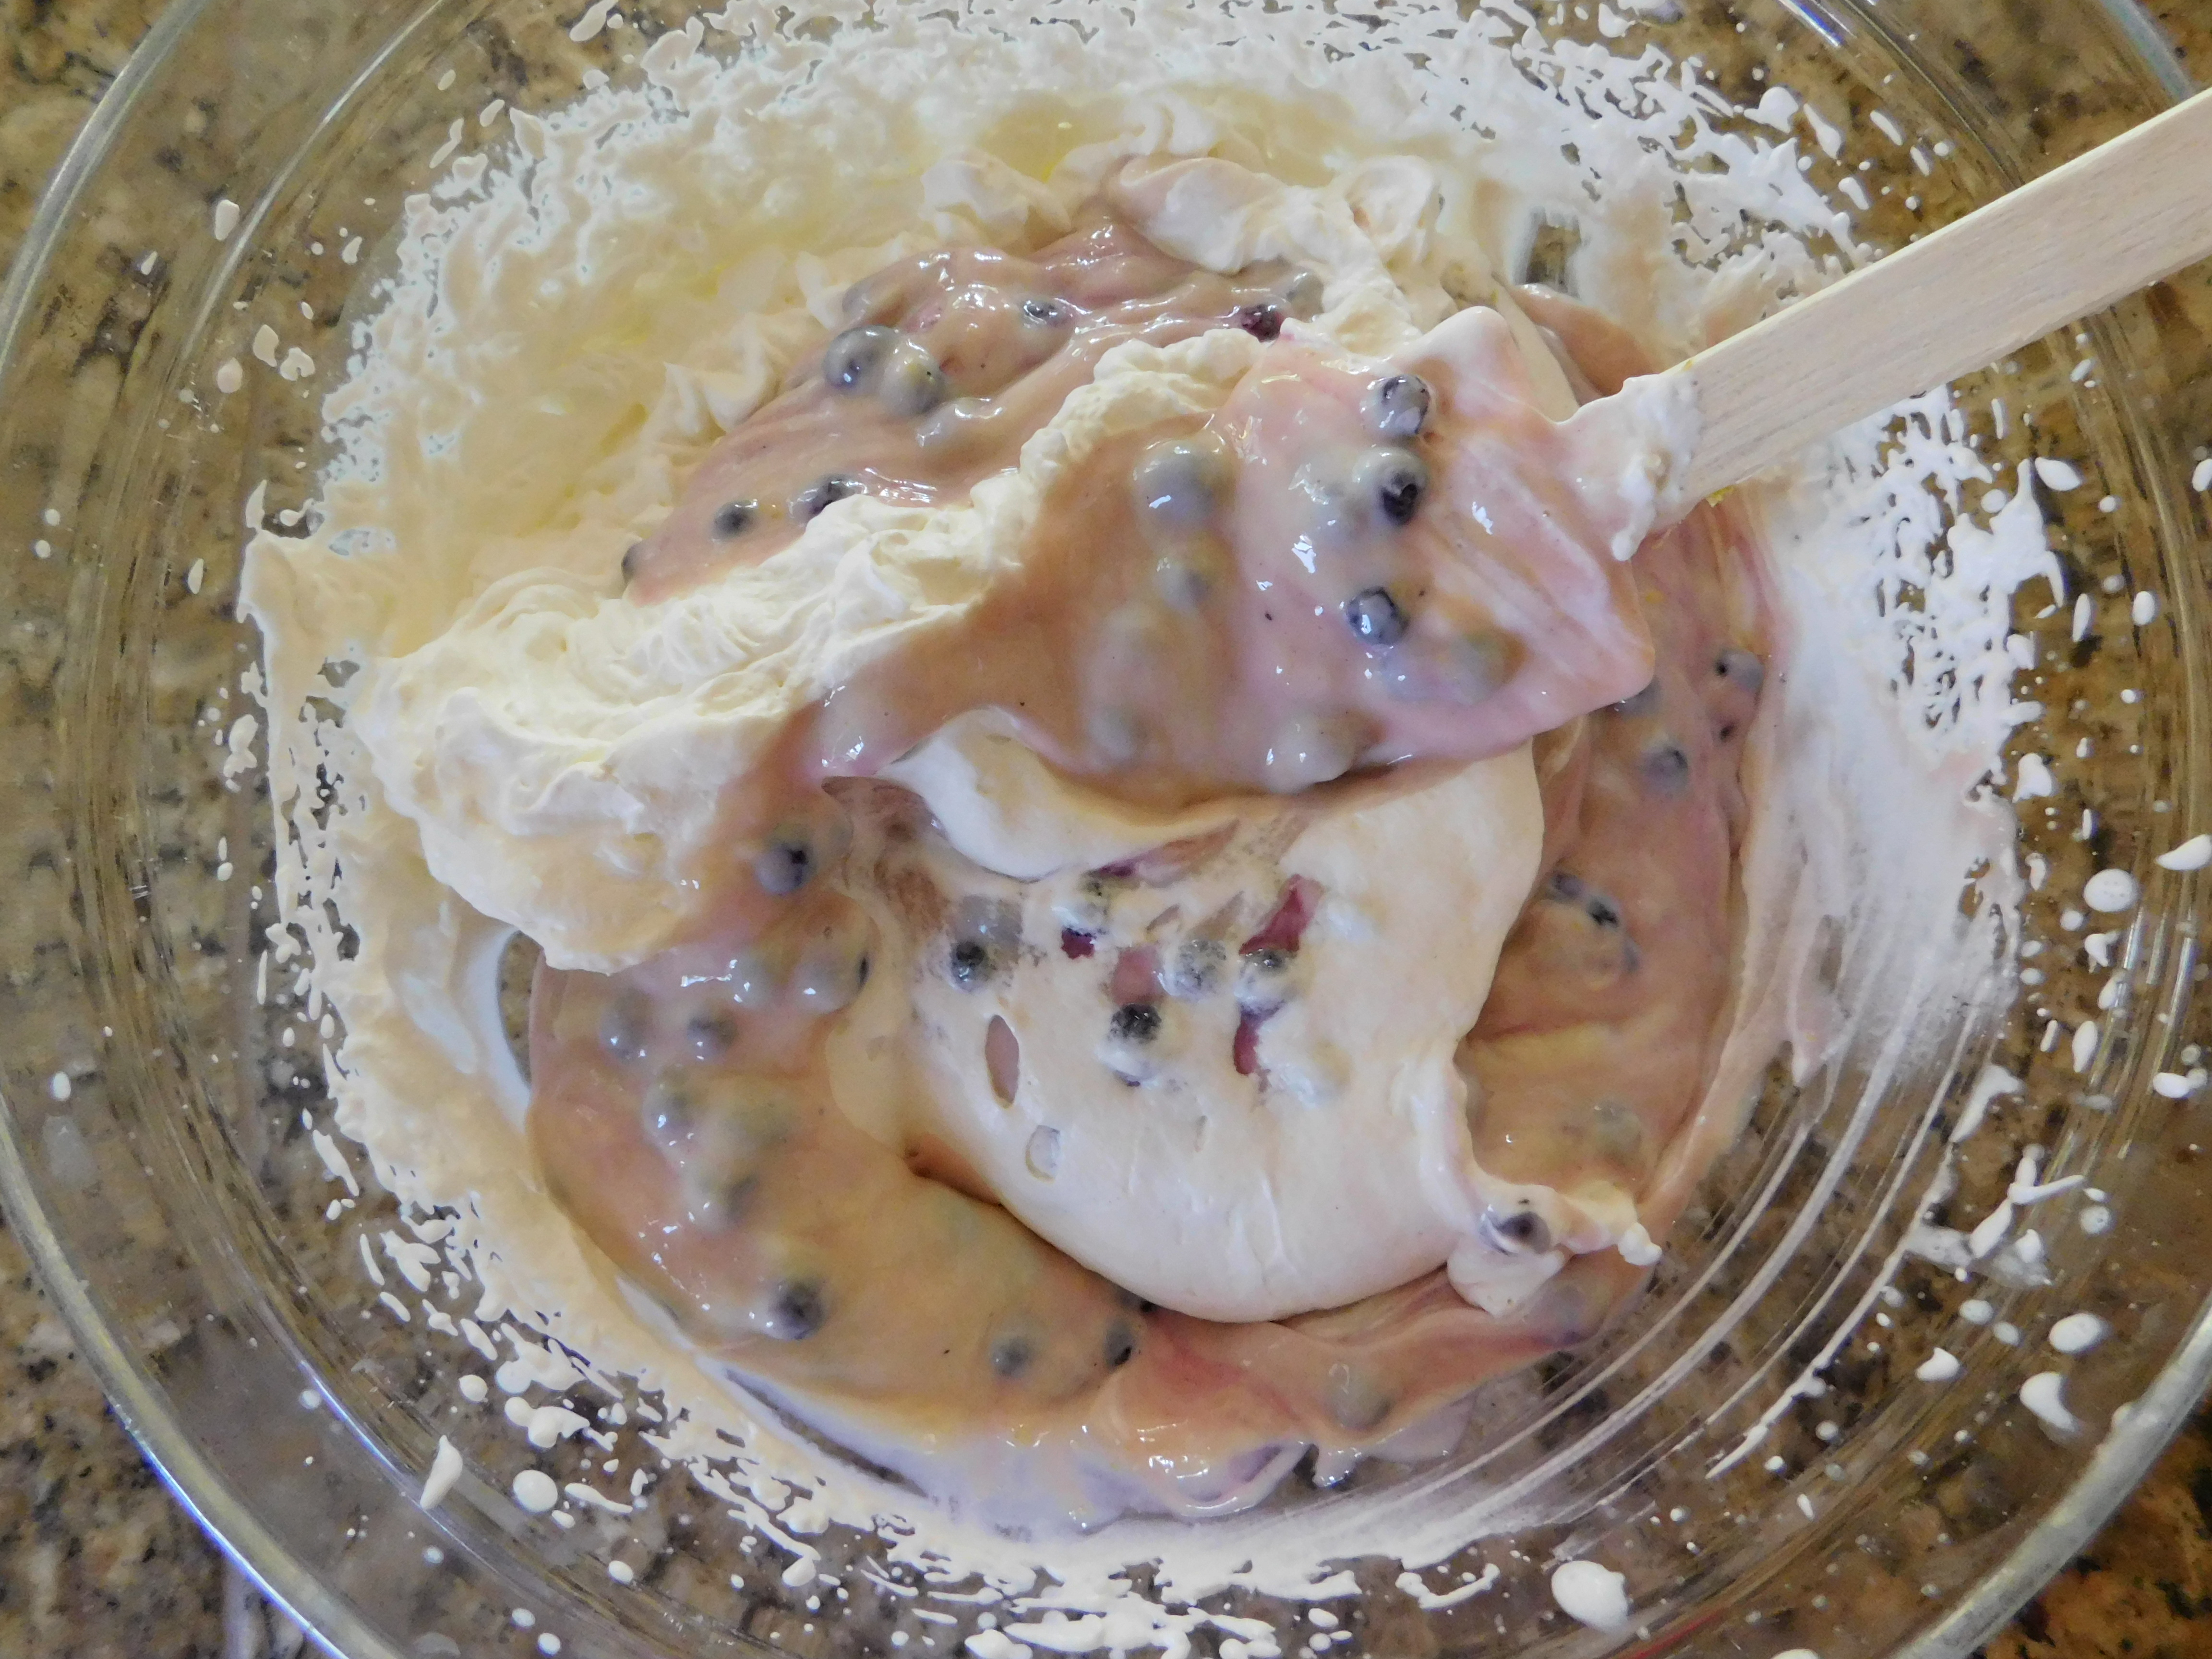
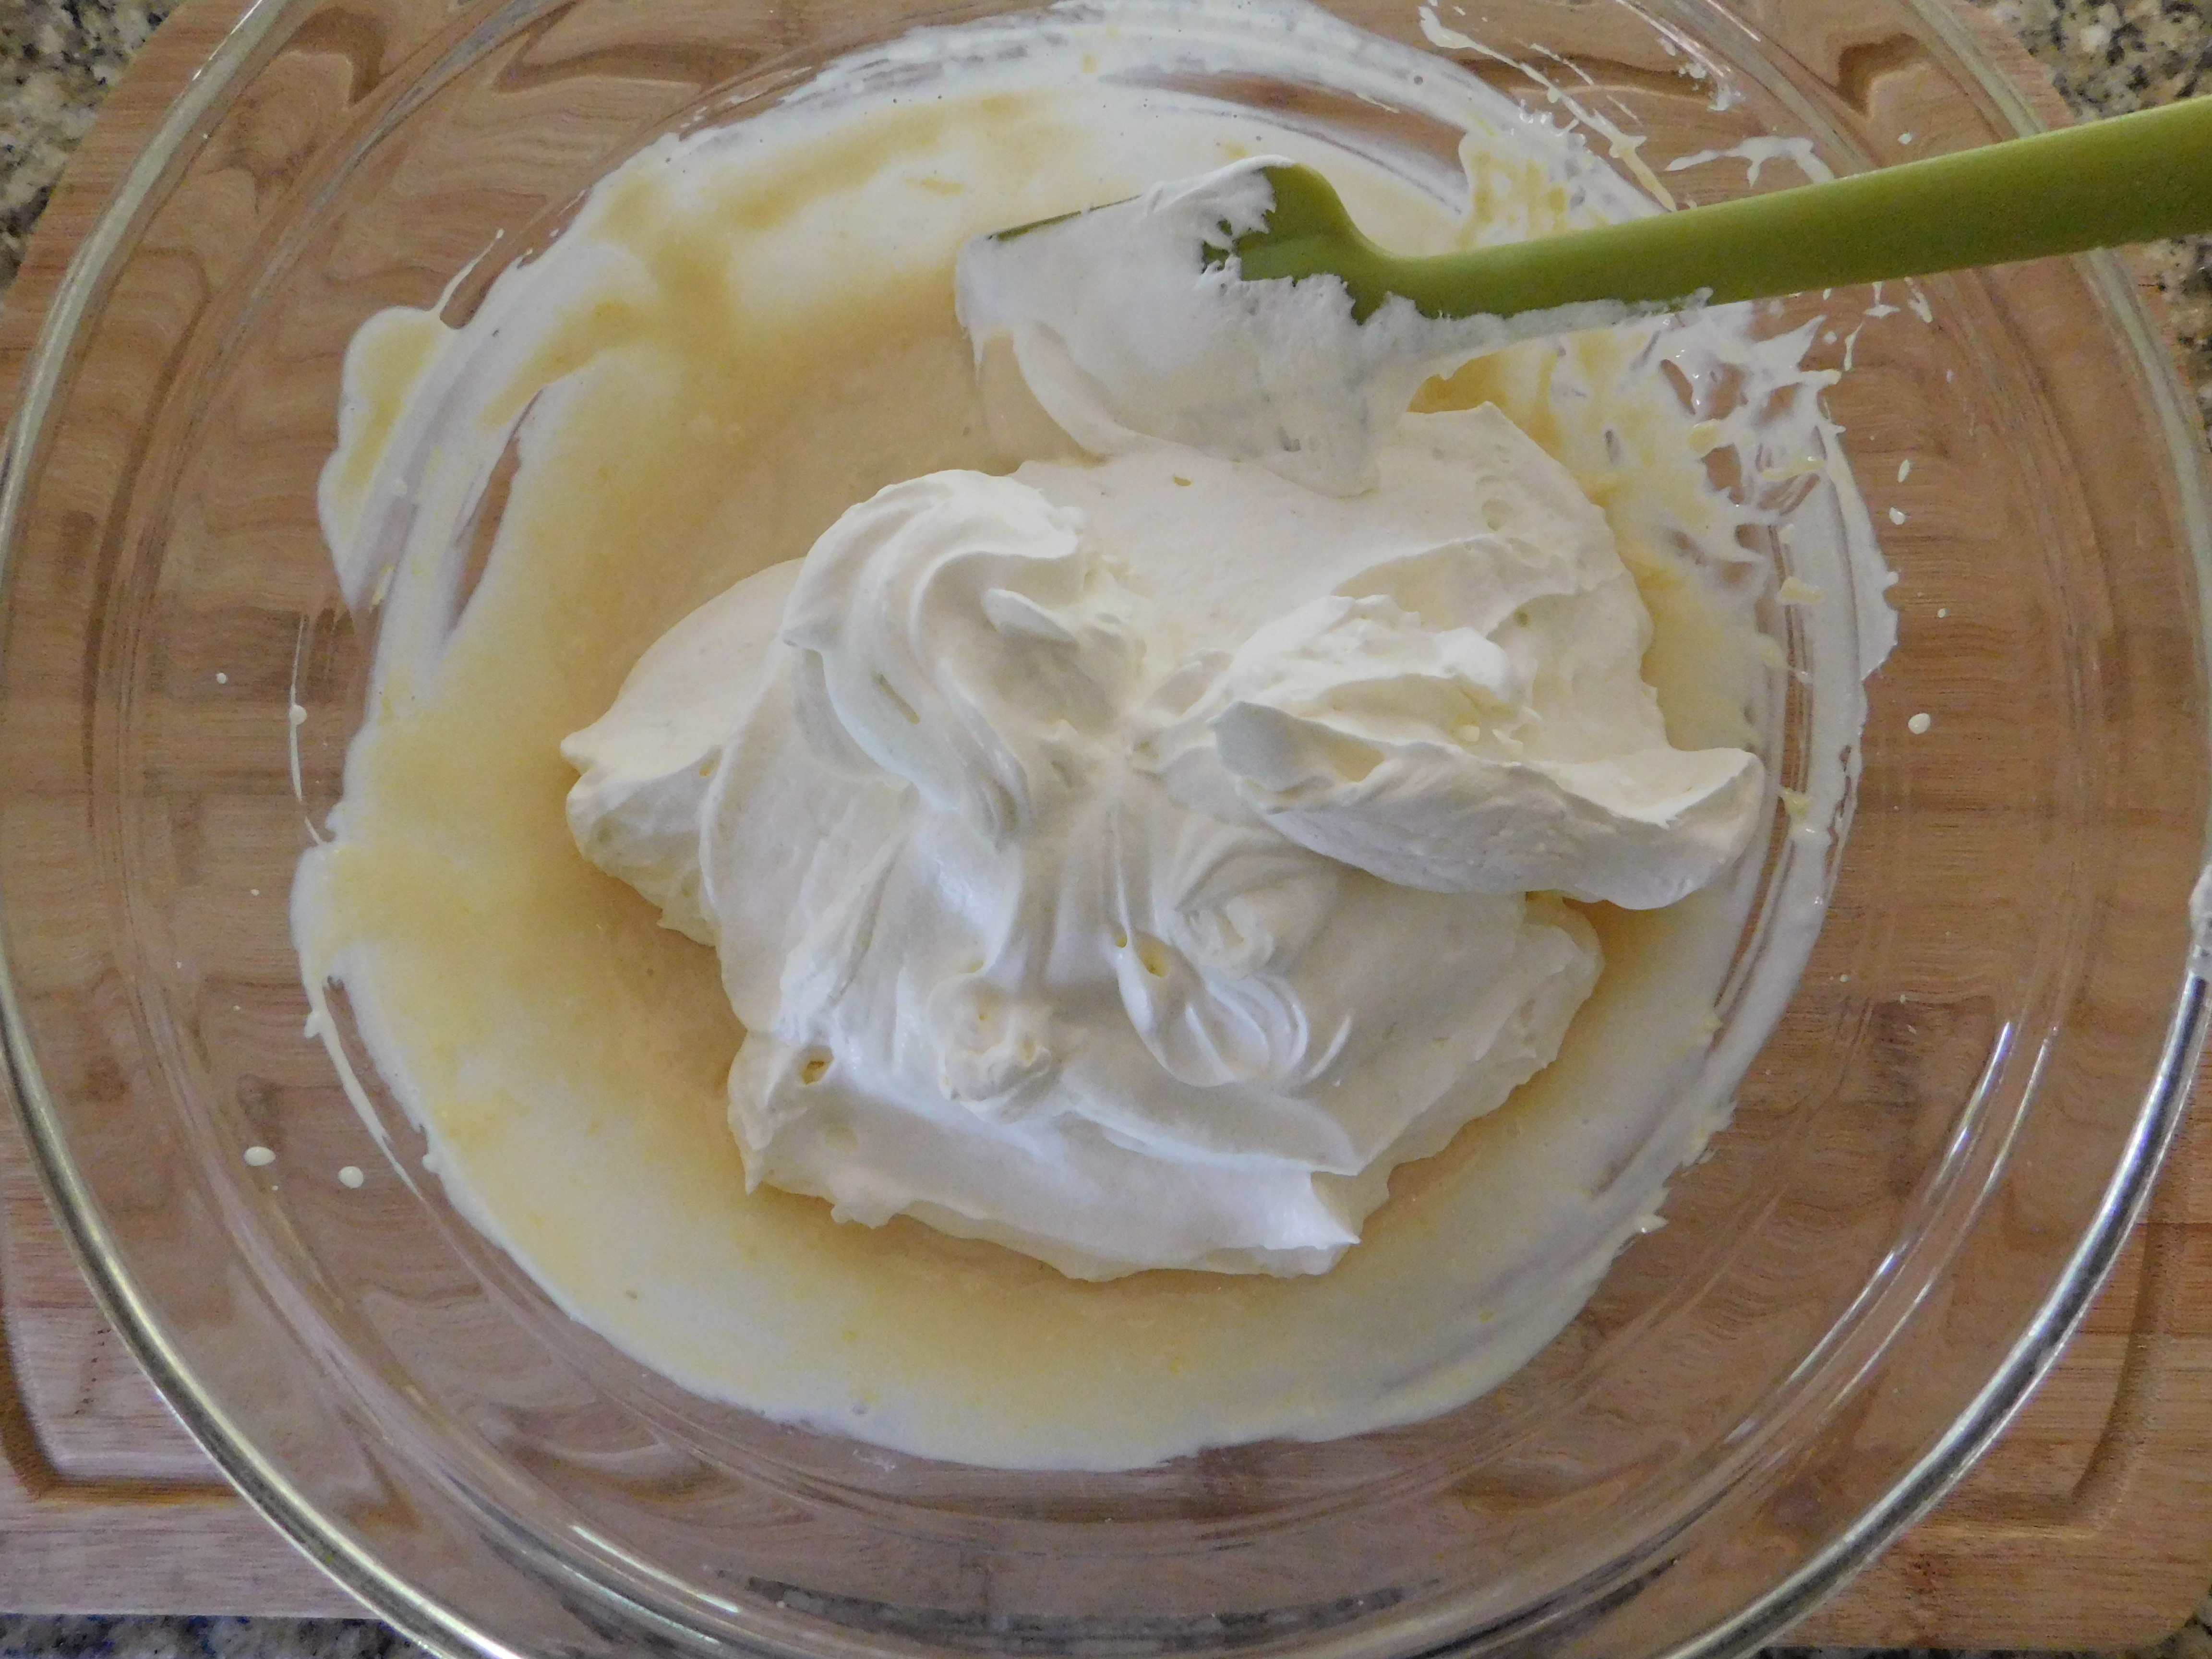
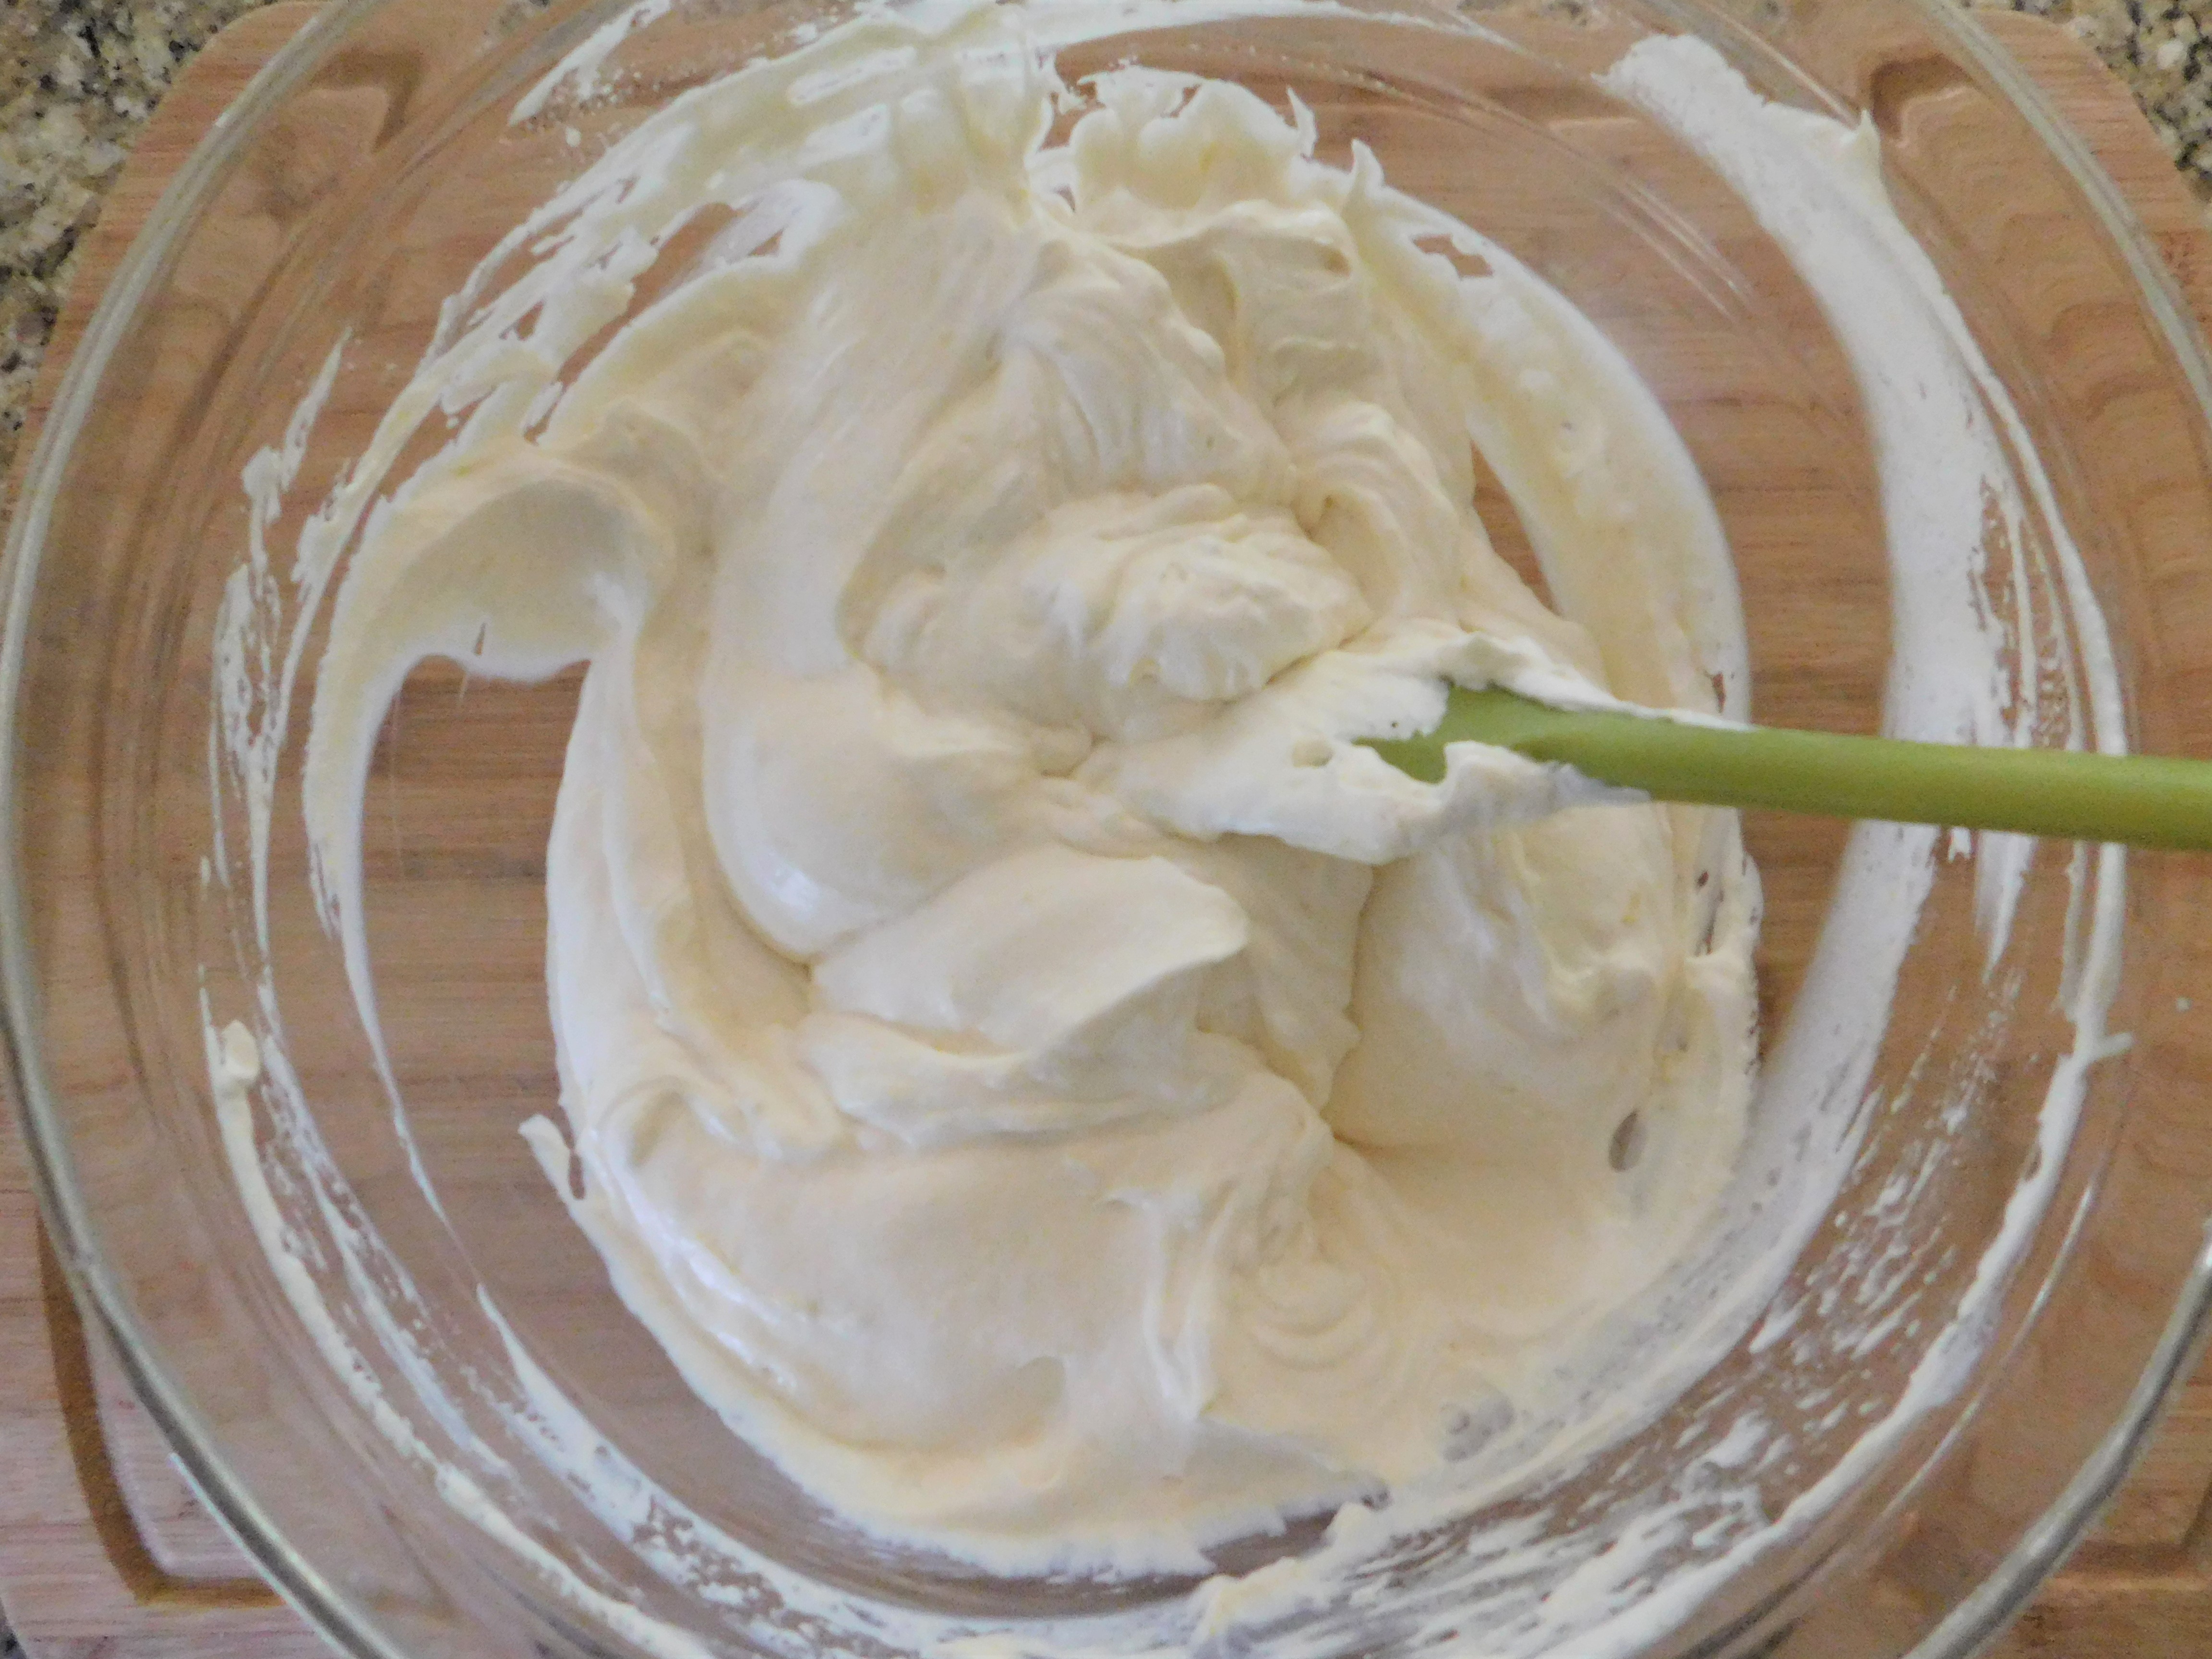
Then fold the whipped cream into the lemon and blueberry mixture.

I lined the bread pan with some parchment paper, and that wasn’t necessary, but I would cover the pan with some plastic wrap so it doesn’t take on that “freezer” smell or taste. Make sure you let the ice cream sit out for 5-10 minutes when you take it out of the freezer – that helps it scoop smoother. If you don’t do that, it will be pretty icy and hard to scoop.
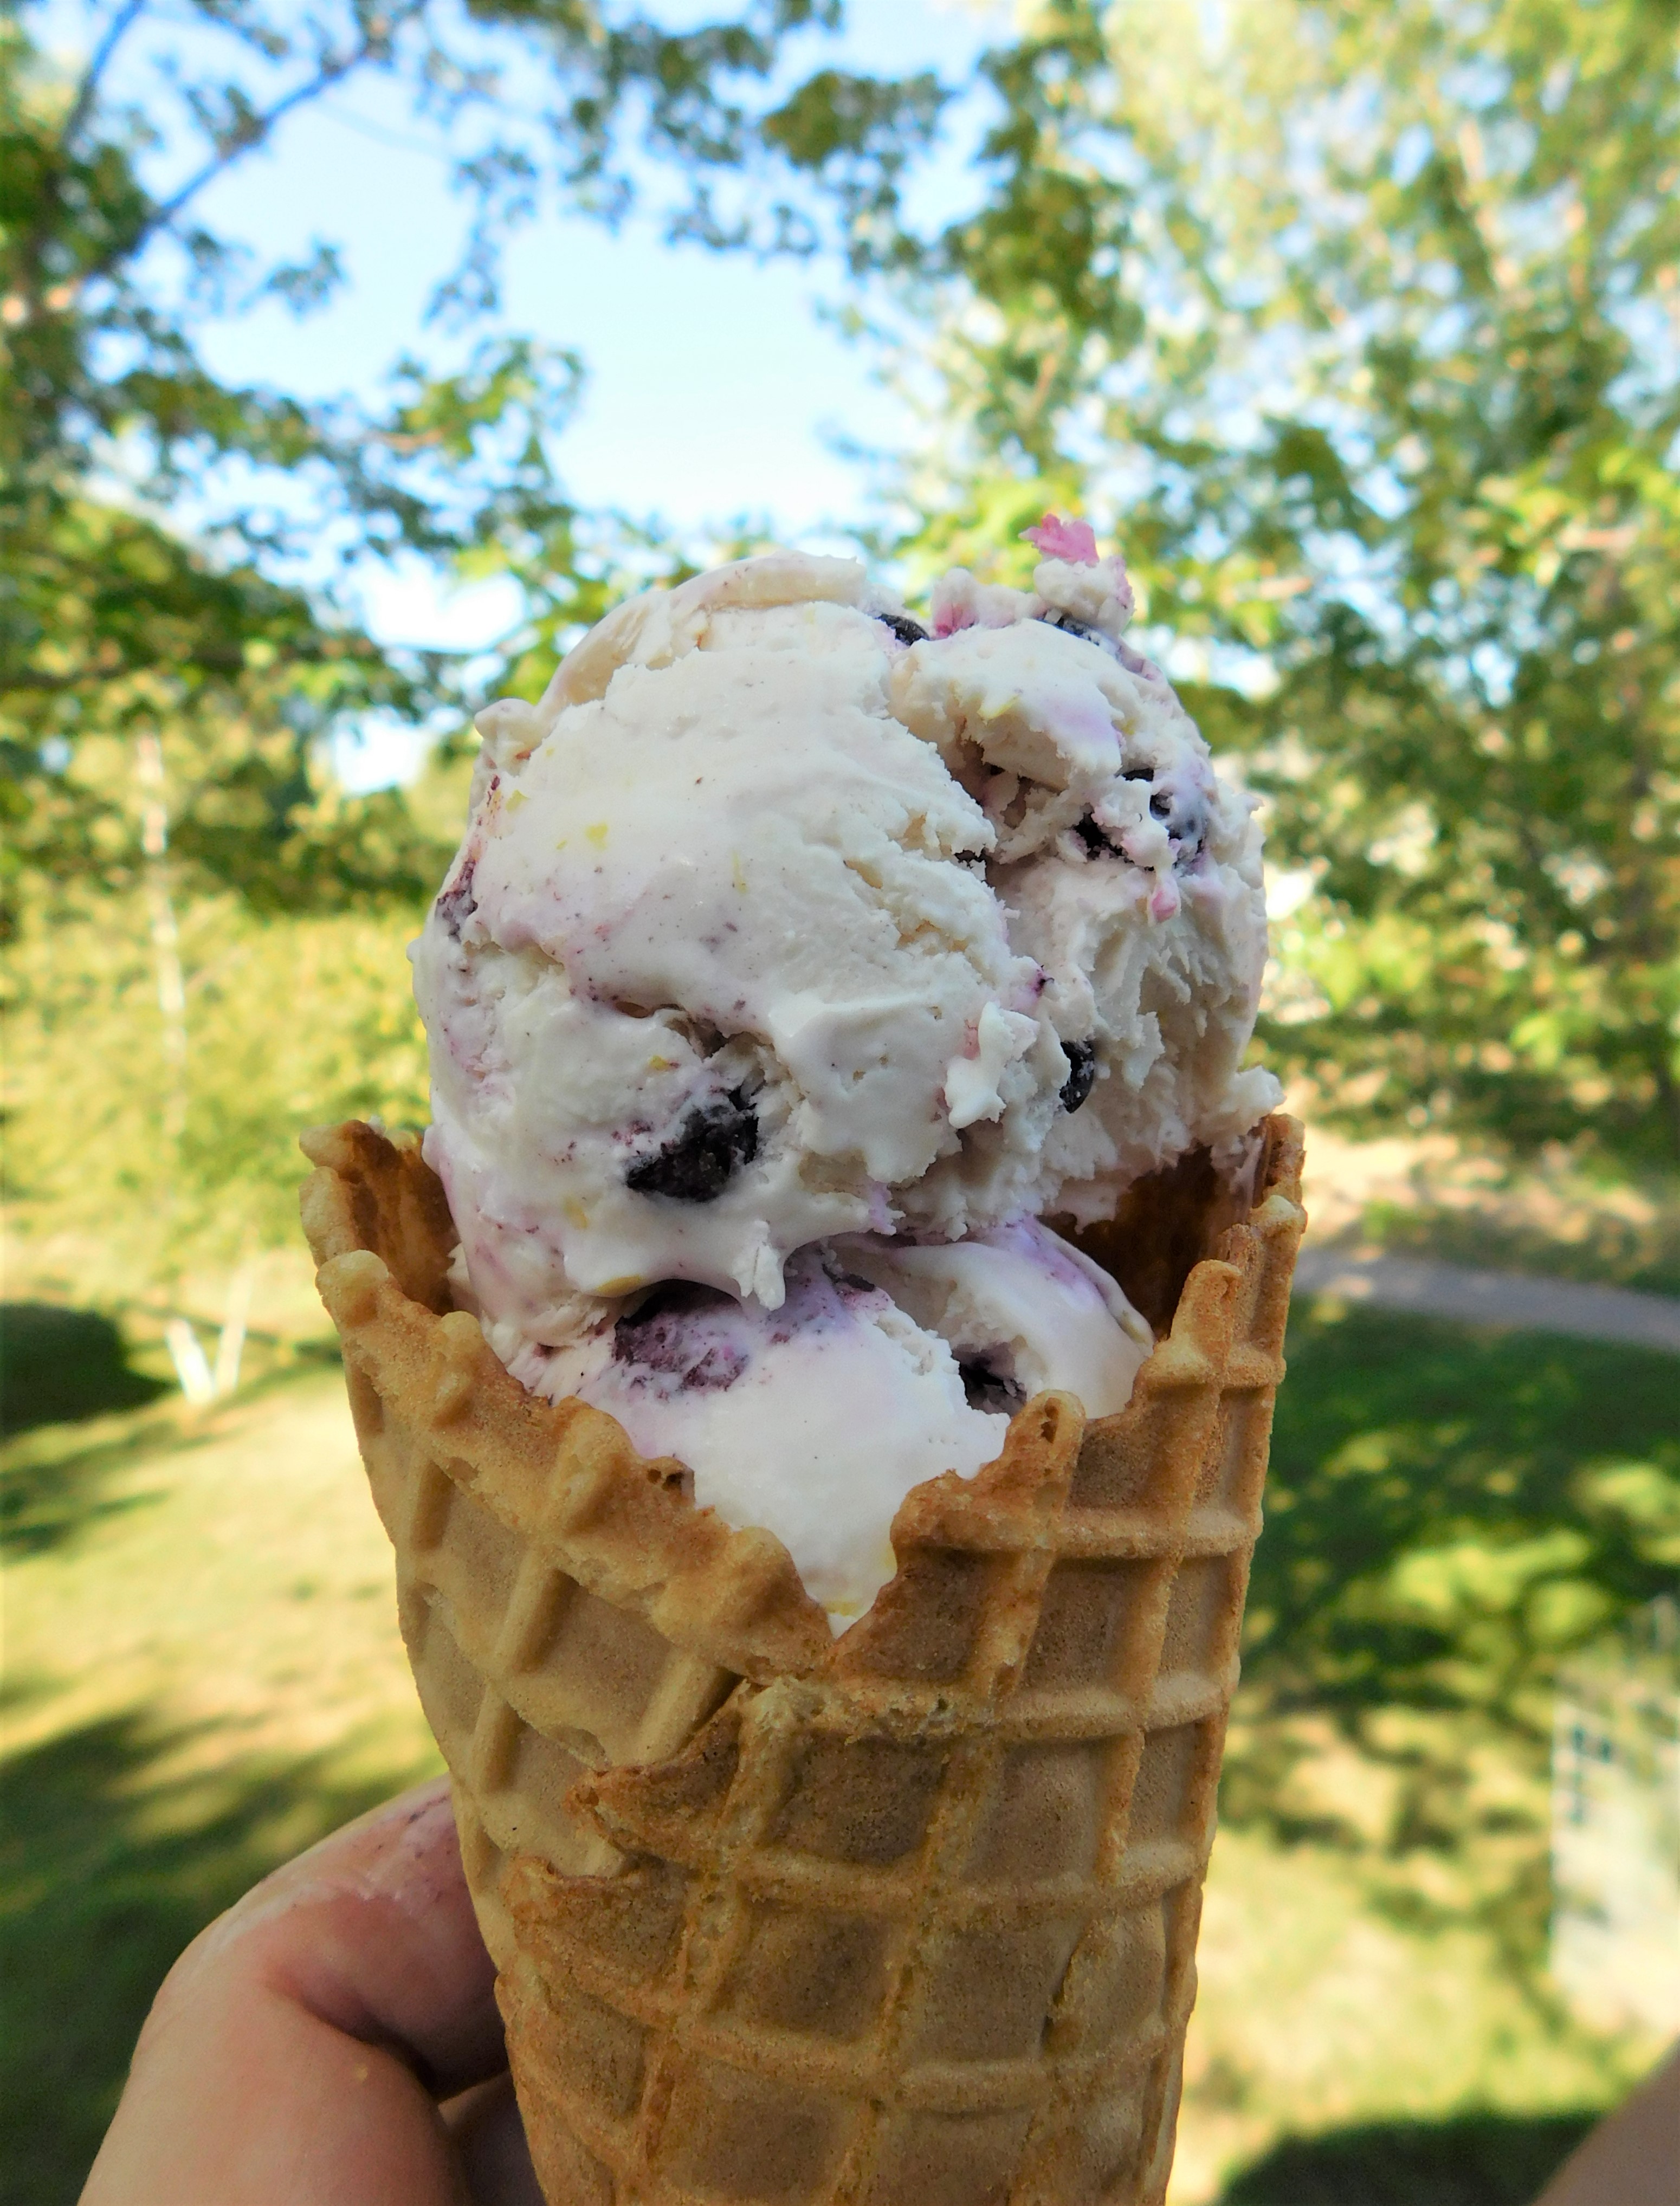
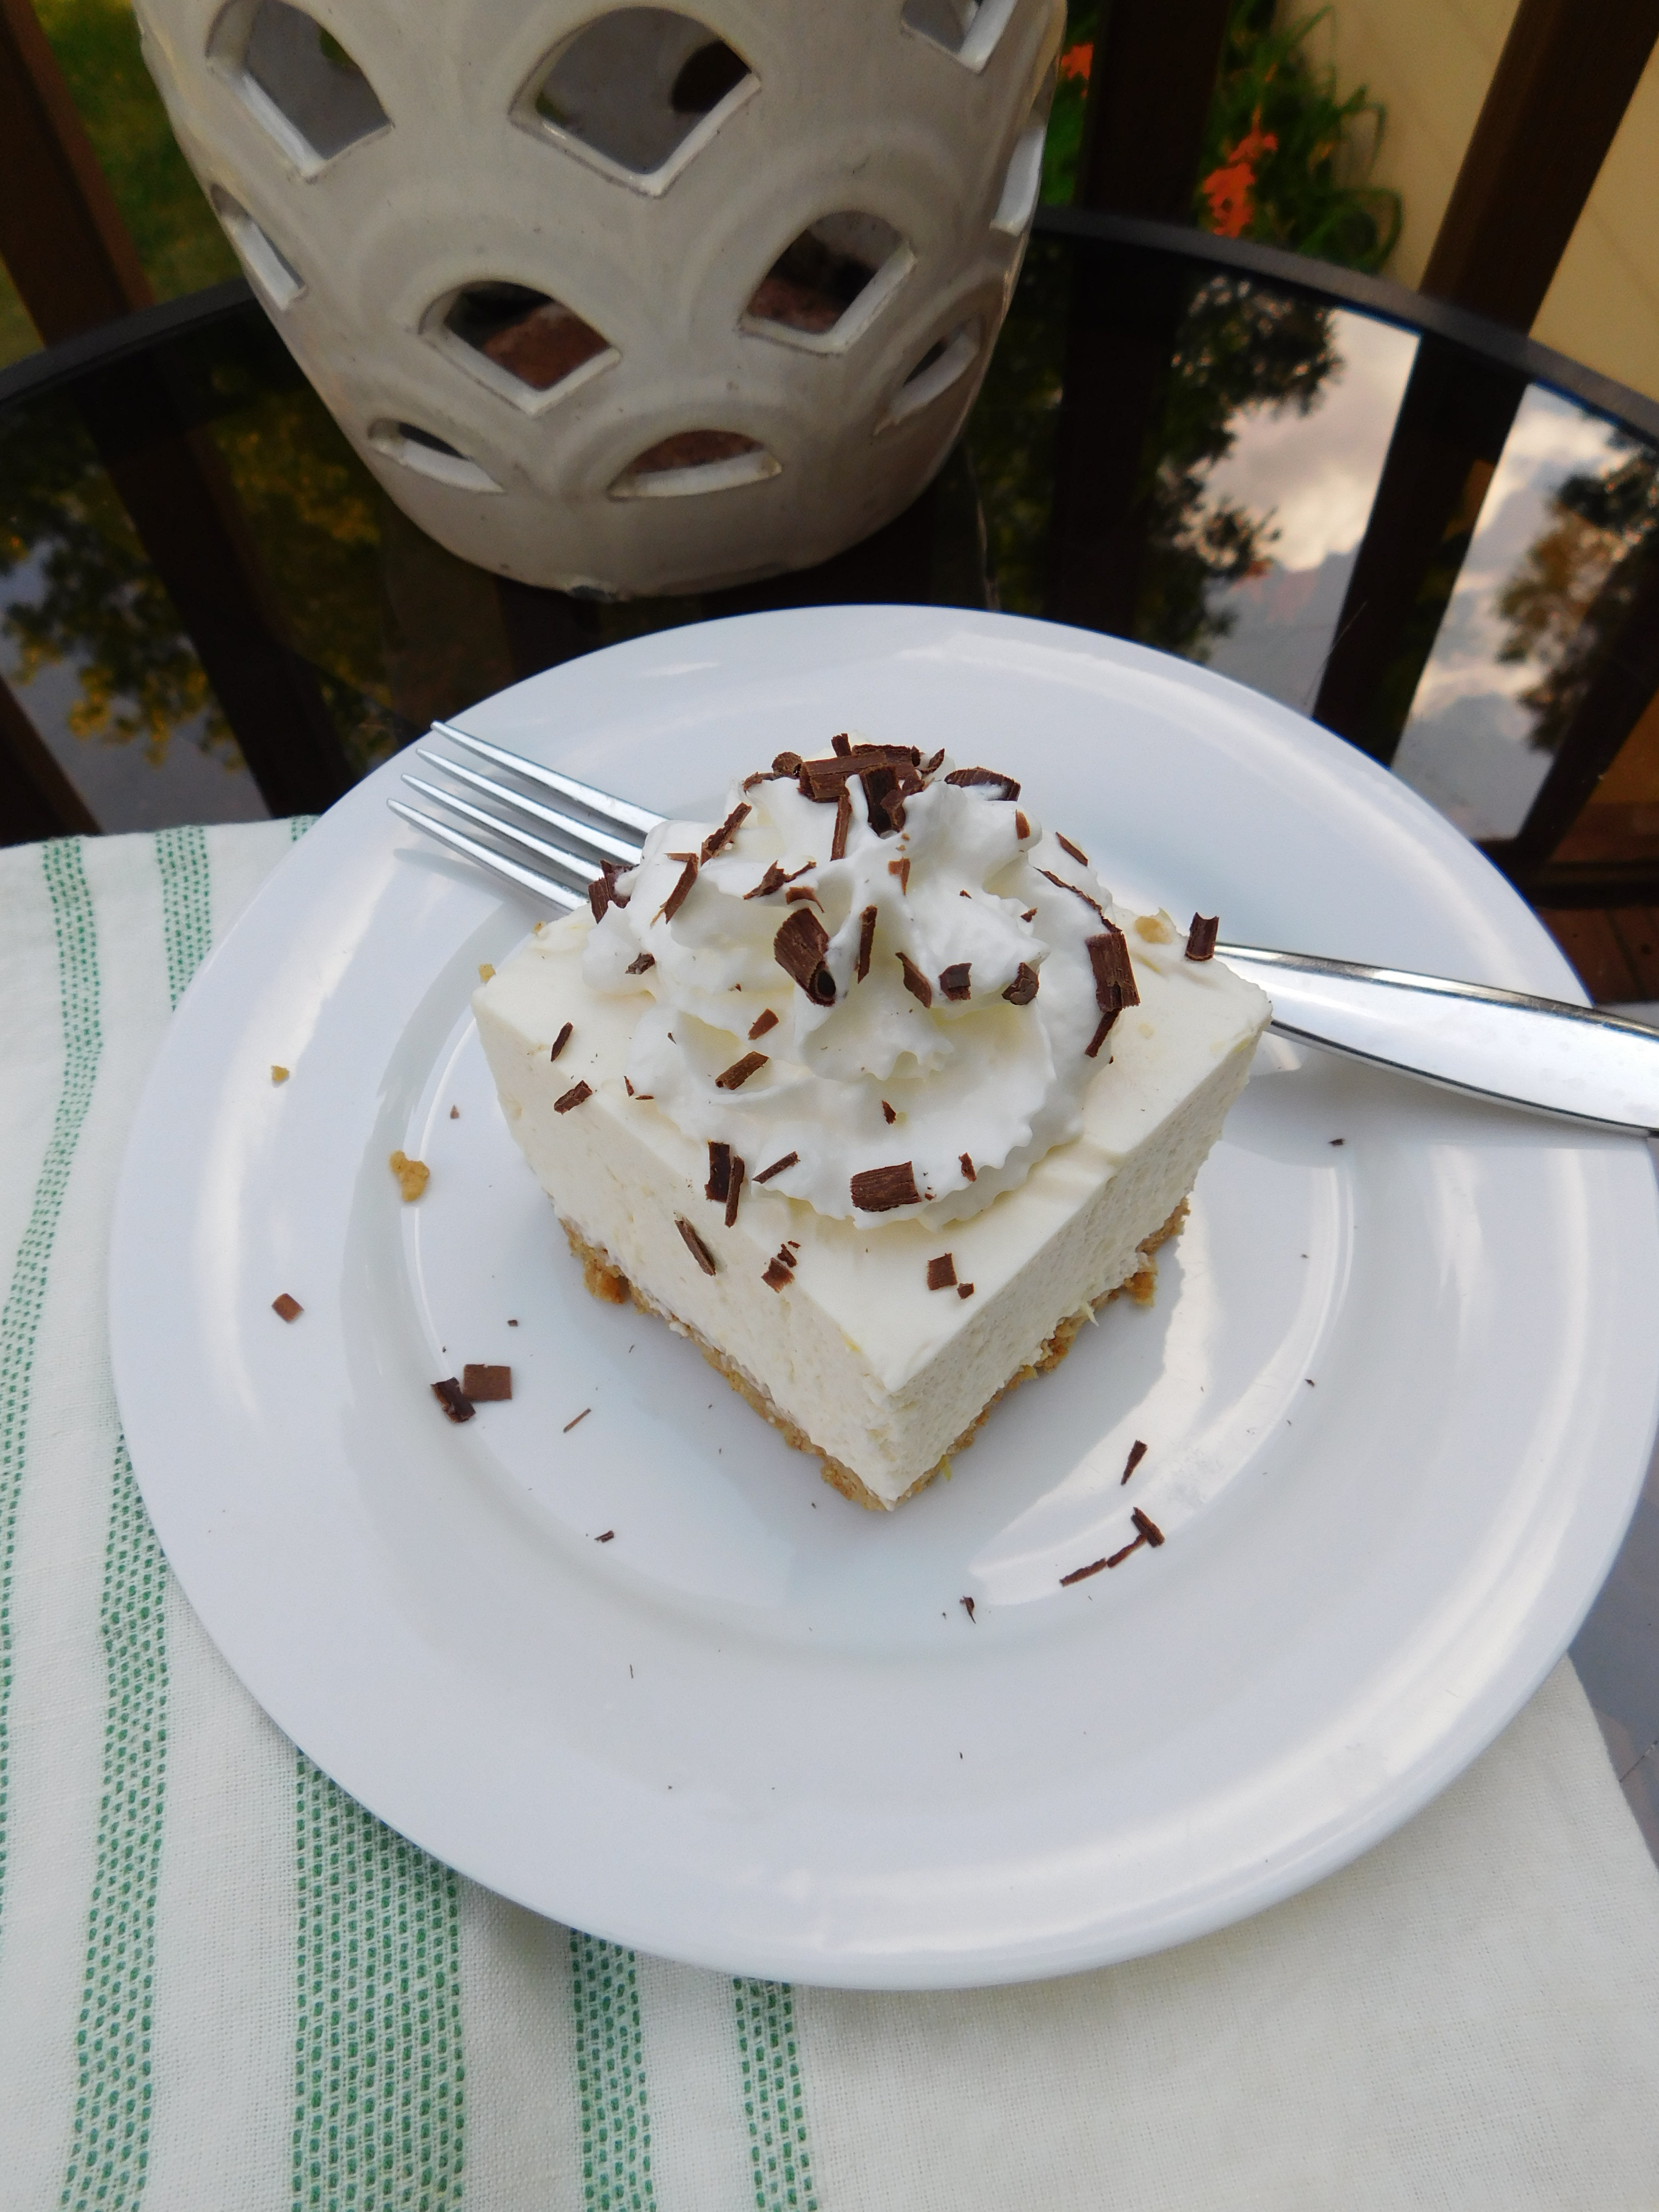
My family enjoyed this ice cream the next day, and wow!
It is so, so good – absolutely delicious!

I wouldn’t say the no-churn ice cream is as creamy as regular ice cream, but it’s easy and fast to make (especially if you don’t own an ice cream maker), and it really is so, so good! It tastes just like the recipe I make for Blueberry Pie! My mind is whirling with all the ideas I have of what kind to make next. There are so many possible flavors to explore! Stay tuned – I’m thinking a Gingerbread type to come this fall! In the meantime, take advantage of the warm (some hot) days we still have left this summer, and make a batch of this icy and delicious Lemon Blueberry No-Churn Ice Cream – you’re gonna love how easy it is to make, and your family will love how tasty it is!