Plenty Sweet Life

Grandma's Recipes One By One!

Ost Kaka – the Real Kind from Scratch – My Fond Farewell

Today I’m finally tackling Grandma’s recipe for Ost Kaka – the Real Kind from Scratch. If you’re not familiar with what this dish is, it’s a Swedish treat that is a cross between a cheesecake and a custard, and I have seen recipes where it is even baked like a cheesecake. The ladies and farm wives that belonged to the church in the little town near where Grandma and her family lived were famous for making this delicious delicacy, and so were the ladies in Grandma’s family! There is a recipe on Plenty Sweet Life for Ost Kaka – the Easy Kind that I make quite often, but this one is the ONE. This one starts with milk and rennet (to curdle and make the cheese) and takes a little more effort to make. I never did watch Grandma make this, and I’m determined to figure this out and make it from scratch. I never saw my mom make it this way, either, but she did try to do it once after Grandma passed away and she said Grandpa told her, “I never saw anything look like that!” Haha! As you can see from the many recipe cards involved here, that there was an evolution of her recipe over time. I read and re-read all of these notes (written on scratch paper and on the back of that scratch paper, and by the way – she was making it long before 1985) many, many times in the last year or so, knowing that the time was coming for me to try to make this.

Now we come to the fond farewell part of the post. This will be my last one. As of July 22, I have officially been doing the blog for 10 years. It was done as a way to honor my Grandma by making all of her old recipes that were so important to our family. There have been over 1200 posts, making not just Grandma’s (both of my grandmas) recipes, but my mom’s, my sister’s, other family members’, friends’ and recipes that were either ones I had been making for years or that I just felt like trying. There have been very few duds in the over 1200+ recipes, and it’s been A LOT of fun! But there are only a few recipes left to do – one that involves a salad made with lemon Jello and includes other non-salad (not fruit) type ingredients (a retro favorite of Ladies Aid luncheons and NOT my family) and a few pickle recipes (some that involve beets – NOT a favorite of my husband) that make huge batches and I assume would have used surplus from the gardens of the Great Depression era to feed the large family that Grandma grew up in (and would make waaaay too much for just me and my husband). Plenty Sweet Life will stay right here, and any time you need the perfect recipe, I hope you’ll check back and see if you can’t find something here. I have to leave it here – my kids use it as their personal recipe file! 🙂 You never know, I may still put a new recipe on from time to time, if I try something new that I want to share. I appreciate each and every one of you who came along with me and read my ramblings and tried Grandma’s recipes – I have learned a lot and had a lot of fun. The time has come to move on to other adventures. But there’s time for more tears and sentiment later – at the end of this post. Now, let’s get on with the adventure that was – making this Ost Kaka – the Real Kind!

Here is the recipe as I made it:

Ost Kaka – the Real Kind

These notes were just written out on scratch paper for Grandma to keep track of, for herself, what she did and for when. It was hard to figure out, but I went by the original card and just adjusted when I felt it necessary. I only used 1 gallon of milk instead of 1 1/2 gallons because it looked like she used more when making two pans of Ost Kaka for her church’s 4th of July celebration.

To make the cheese:

Heat to lukewarm (I actually checked the temperature here to make sure it was at least 98.6 degrees):

1 gallon of 2% milk (1 1/2 gallons if making two pans)

Add:

1 cup flour mixed with about 3/4 cup water

1 rennet tablet soaked in water (the card says 1/2 of a tablet, but since further on she used 2 tablets, it seemed like 1/2 of one might not be enough)

(The card also says to add 2 eggs here, but I added them later as her notes indicated to do that.)

Let the milk, flour mixture, and rennet sit for at least 30-45 minutes (I had to go at least 60 minutes). I had a problem here and had to do it again – see below).

To make the Ost Kaka:

Combine:

4-5 eggs, beaten (I used 5 because I think our eggs are larger now than they used to be)

3/4 cup sugar (the card says 1/2 cup, but her notes later say 3/4)

1 pint whipping cream

1/2 teaspoon salt

(The card says to add a little nutmeg, but I never knew Grandma to put that in. She later also said to add the cream plus a pint of half-and-half, but that seemed like it would be too much for just one pan, so I only used the cream.)

Mix this mixture with the cheese mixture.

Pour into a 9″ x 13″ pan.

Bake at 300 degrees for 2 hours (she says to start at 275 degrees and stir halfway through, but we like it with more of a browned top than she did, so I baked at 300 degrees the whole time and I don’t stir it).

While the milk was warming, I got the flour mixture and the rennet ready to go.

This is the other reason I only used 1 gallon of milk instead of 1 1/2 gallon – it would have been too much for my pot!

It’s not the most appealing-looking mixture, but we’re making cheese here – think cottage cheese. This is curds and whey. I had to do this part twice as I let the milk get too hot the first time and the rennet didn’t work. The milk needs to stay lukewarm, or 98.6 degrees. I probably could have also let it sit a bit longer – the curds were a bit softer than I remember Grandma’s being. Hers turned out more like the curds in cottage cheese.

The next mixture is where I added ALL the eggs, instead of adding half of them with the flour and rennet.

You can see the curds, or cheese, here. Combine it all and that’s it.

The pan was pretty full with everything combined. This is why I think her notes were for two pans.

Because the pan was so full, I maybe could have baked it just a bit longer. It was a little watery, but maybe that was because the pan was so full and it needed a bit more time. We like it this brown on top, but Grandma would never let it get this brown. 🙂

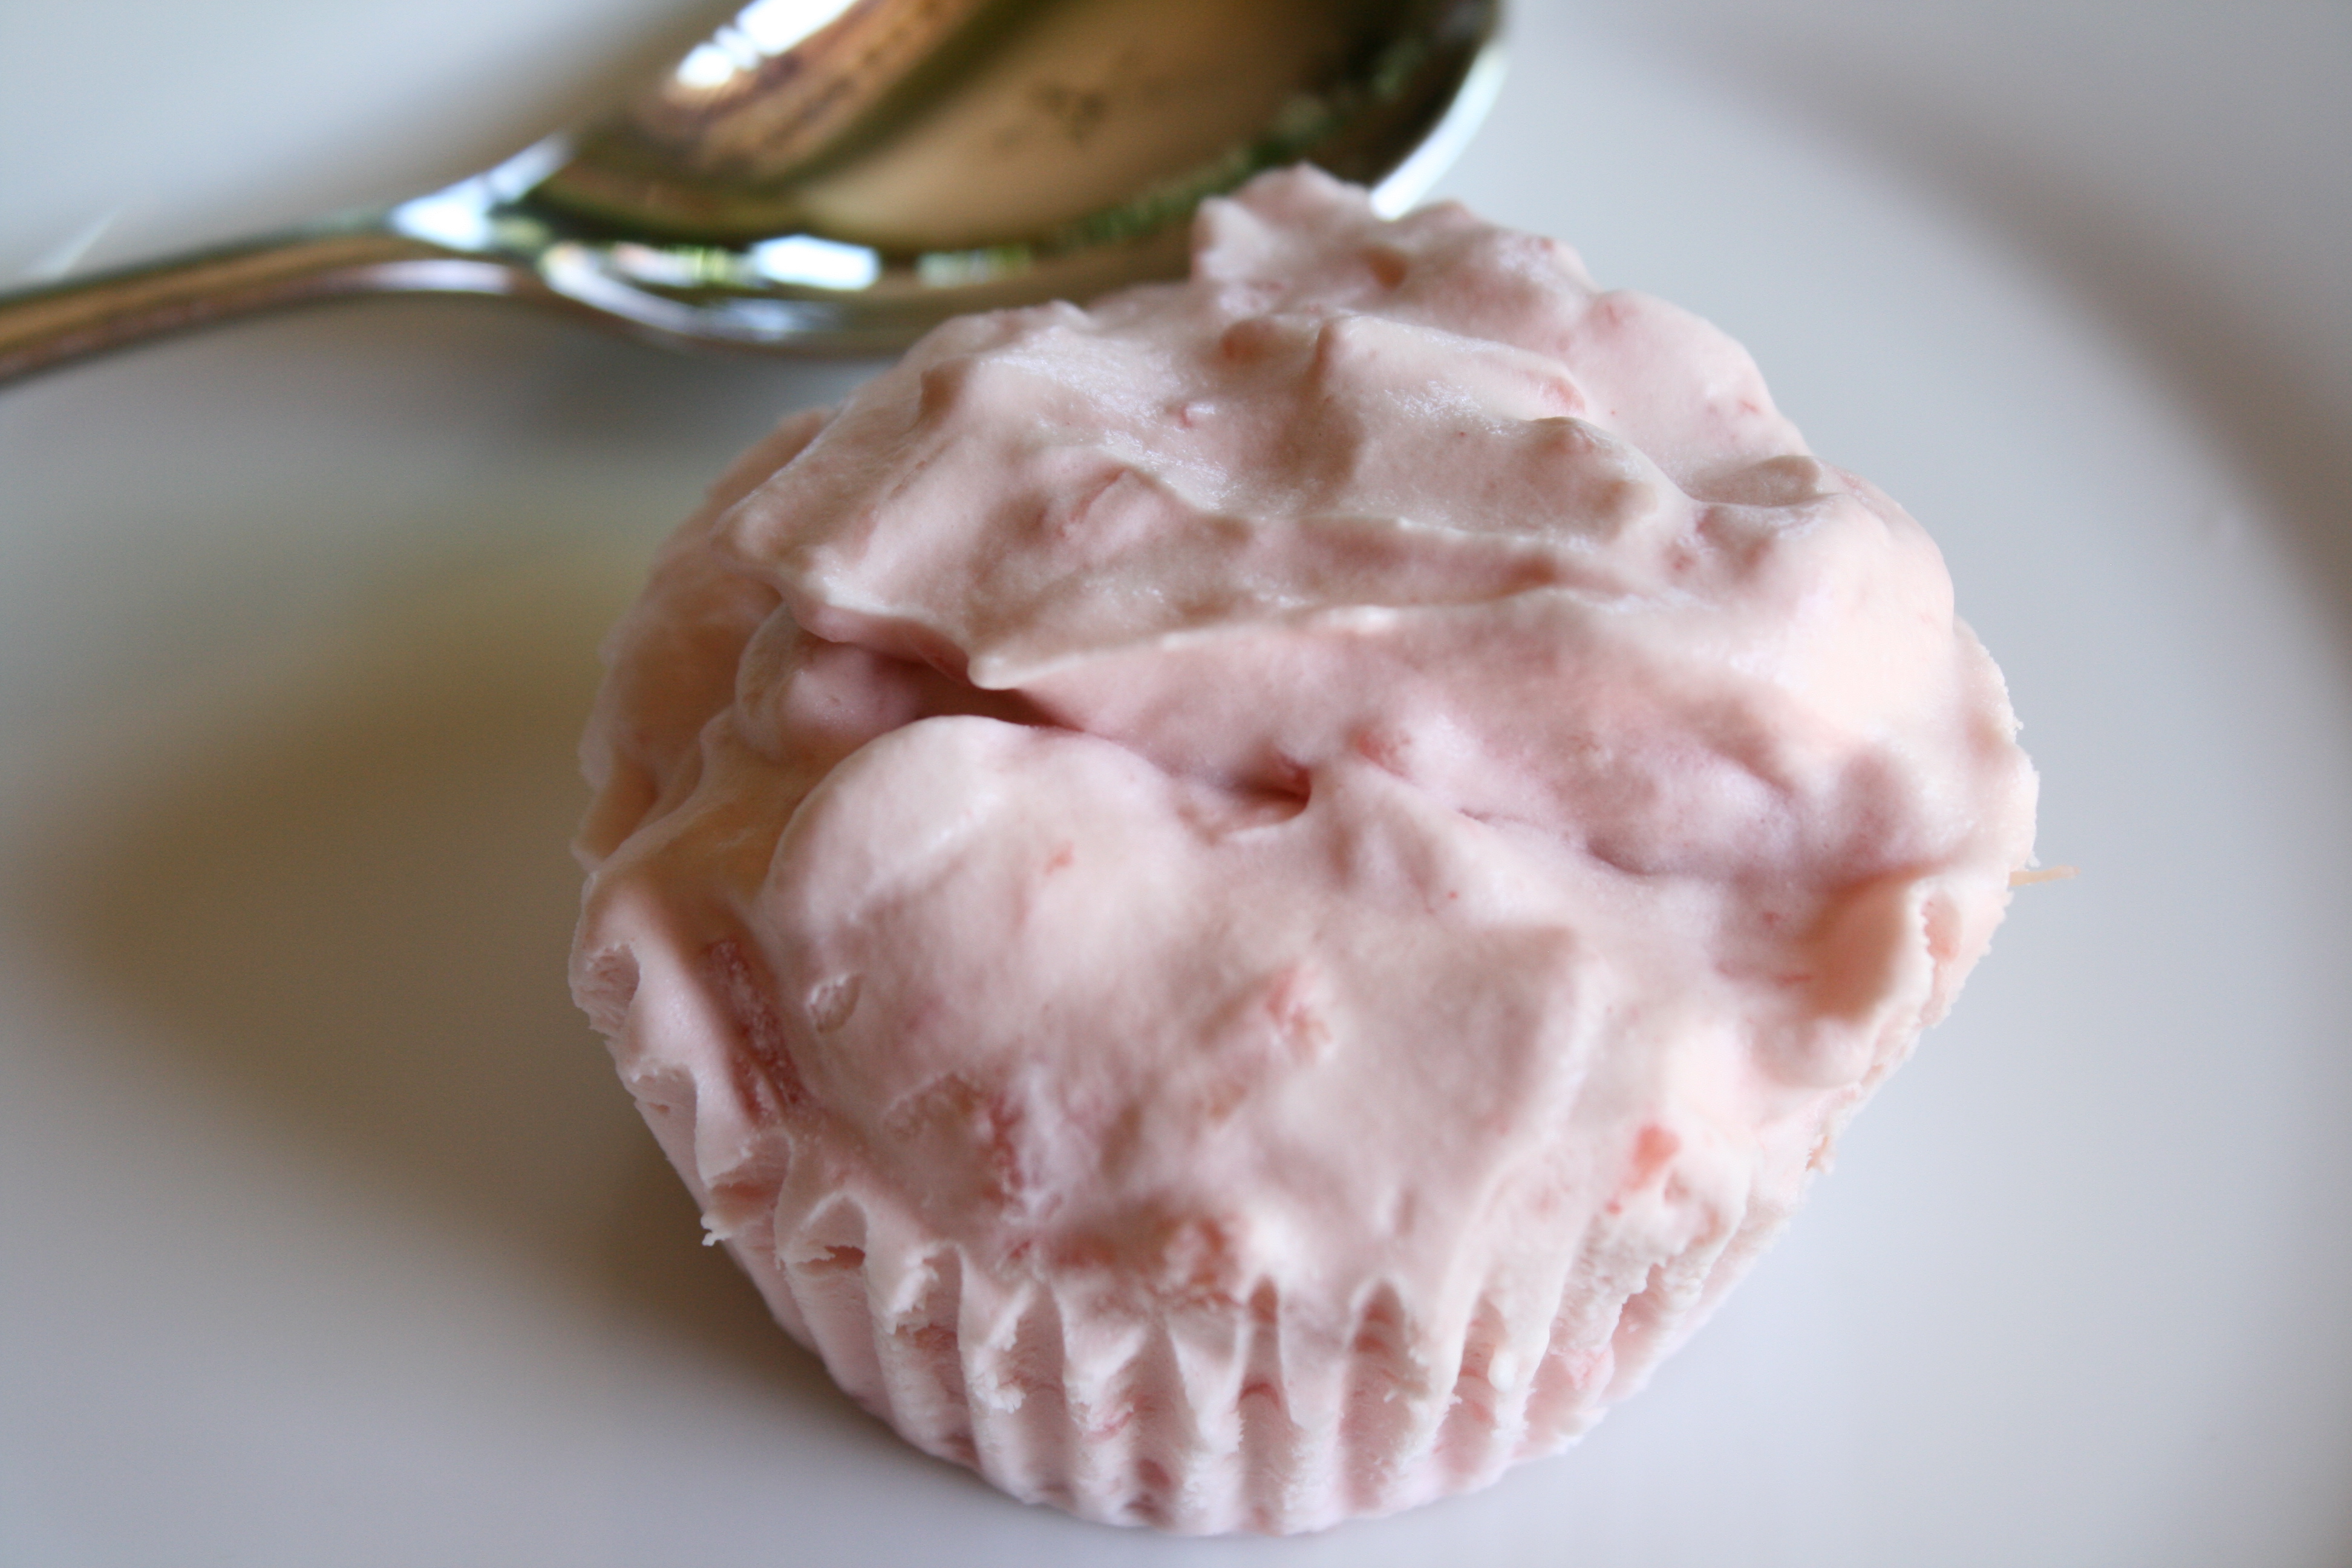
Not bad for a first try! It was a little watery, but it was still delicious!

This smelled like Grandma and Grandpa. There is a definite scent of the cream – amazing!

While this recipe is very tasty, I have to say I might like the easy kind better. Maybe it’s just that we’re used to having that more often. I can’t get over how the kitchen smelled while this was baking. Family recipes are so important for many reasons, and it’s important to document them, so we can bring back those flavors and smells and the memories of those loved ones once they’re gone. They’re really NOT gone, then, are they? Grandma was very proud of her Swedish heritage, and she made sure our whole family was, too. There aren’t a lot of Scandinavian recipes on the blog, but this one and the easy recipe are pretty important, and I’m so glad I tried to make this myself. You know how they always say, “it doesn’t taste as good as Grandma’s”? Now I know. I know what the secret ingredient is – it’s love. That’s what Plenty Sweet Life has been all about. It’s about sharing the recipes with my family and sharing the love. These recipes haven’t been just about feeding them, it’s been about feeding the soul and sharing the love and bringing back the memories we all have with Grandma and Grandpa, and then making more memories of our own. That’s why it was important for me to save this one for last. This is one of the most special recipes Grandma had and the one we loved the most. I hope you all try this Ost Kaka – the Real Kind from Scratch, and make some memories to share with your family.

6 Comments »

12 Delicious Apple Desserts

I’m sharing 12 Delicious Apple Desserts today because apple season is coming, and we want to be very prepared for what we want to make with those amazing and delicious apples. There’s a little bit of everything here, so you should be able to find SOMETHING to make with apples that your friends and family will enjoy! 🙂

Fresh Apple Cake

Danish Apple Bars

Apple Dessert #2

Apple Crumble

Baked Apples

Fresh Apple Cake #2

Apple Nut Bread

Apple Pecan Bundt Cake

Apple Pie Bars

Apple Galette

Apple Muffins

Apple Cake with Butter Sauce

2 Comments »

Zucchini Hotdish

Today’s recipe for Zucchini Hotdish comes from my mom’s file. I don’t know where she got this recipe, and I don’t remember her ever making it for the family, but it uses up your garden produce and it’s delicious! This time of the summer we’re all trying to figure out what to do with all of those zucchini we have exploding in our gardens. What to do with it all? You can only make so many Chocolate Zucchini Cakes and loaves of Zucchini Bread, right? This is a more savory way to enjoy those zucchini. It works for both kinds – the huge zeppelin types and the smaller ones, too. I made this in a 9″ x 9″ square baking pan, but you could also just add enough vegetables to make a whole 9″ x 13″ pan and feed a crowd.

Here is the recipe as I made it:

Zucchini Hotdish

Brown:

1/3-1/4 pound of bacon

1/2 of a medium onion, chopped

1/2 of a large green pepper, chopped

1/2-1 cup mushrooms, chopped (I didn’t put these in, so I added 1/2 of a red pepper instead)

Season with:

1/2 teaspoon lemon pepper (I used just pepper)

1/2 teaspoon garlic powder

Layer in 9″ x 9″ pan:

2-3 medium zucchini, sliced or cut into chunks

1 can of whole kernel corn

Bacon mixture

Bake at 375 degrees for 45-60 minutes.

Add:

Seasoned croutons to cover (I made my own instead of using store-bought)

Sprinkle on:

1/2 cup Parmesan cheese

Bake another 15 minutes or until browned.

I didn’t have any store-bought croutons in the house, so instead of making a last-minute dash to the store, I made my own with a loaf of bread I had in the freezer. Cube up the bread, drizzle a little olive oil over top, sprinkle on salt and pepper, Italian seasoning, and garlic powder, then toss gently.

Put the croutons on a baking sheet in a single layer and bake at 375 degrees for about 5 minutes. Turn them over and give them another 5 minutes or so.

These got a little dark, so keep an eye on them. They were still delicious! So delicious that I wish I hadn’t tasted one – if you know what I mean! 🙂

Next I browned the bacon, onion, and peppers.

Into the pan goes the zucchini and corn.

The next layer is the bacon mixture, then into the oven.

On go the croutons and Parmesan cheese, and then back into the oven.

Absolutely delicious!

This dish is so colorful and full of tasty vegetables and bacon – how can you go wrong?!! I loved this one – it’s so, so good. It’s a little bit different, I guess because it doesn’t have any “cream of anything” in it, but it really doesn’t need anything more. This is perfect to go with anything you could grill for dinner, but I loved it for a nice, light lunch. I hope you try this savory Zucchini Hotdish and use up some of your oh, so plentiful zucchini!

1 Comment »

12 Delicious Ways to Use Peaches

Today I’m sharing 12 Delicious Ways to Use Peaches – because it’s peach season, of course! 🙂 I love every one of these peach-stuffed recipes and I hope you do, too! I might be a bit biased because I LOVE peaches, but these are ALL ridiculously delicious. Let me know which ones you try – or if you try them all!

Peach Cake

Peach Jam

Glazed Peach Pie

Peaches (canned)

Peach Crisp

Frozen Peaches

Peach Upside Down Cake

Peach Smoothie

Peach Pie Popsicle

Peach Crumble

Peach Ginger Muffins

Peach Pie with Never Fail Pie Crust

3 Comments »

Freezing Eggs

I learned about Freezing Eggs from my sister, who just happens to have chickens! We talked about doing this during the last couple of years when egg prices were so high (at about $5.00 a dozen in this area – I was wishing at that time that I lived closer to her and could get a few at a discounted price – ha!), AND as I’m notorious for wanting to bake something and to be always out of something (sometimes eggs) what better way to have them always on hand than to have a few in the freezer. The last time I bought eggs the price at my store was $.99 a dozen! Now is the time to see how freezing the eggs works! Naturally, I did a little Google search and found that you can keep eggs for up to a year in the freezer, but no more than 4 months for optimum freshness. I’m only going to have some in the freezer for emergency baking. You could try them scrambled, but I don’t think I’d want to eat them fried as regular eggs. I’ll show you how I did it – it’s really easy to do. Let’s see how this goes.

Here is the recipe as I made it:

Freezing Eggs

I have some reusable silicone muffin cups, so that’s what I used. I just broke the eggs into the cups and put them onto a baking sheet. Then they go into the freezer to freeze good and solid. I have seen people scramble the eggs before freezing, but this worked out just fine in the end.

After a couple of hours in the freezer, they are ready.

They are solid and just pop right out of the silicone cups!

I put them into a zip top freezer bag for future use. Don’t forget to label the bag and date it.

When I was ready to use an egg for making some Sugar Cookies, I took an egg out of the freezer bag, put it into a container with a lid, and put it into the refrigerator to thaw overnight (if you’re in a hurry, you can put the frozen egg into a zip top bag and run it under cold water). Not too appetizing to look at, but it worked just fine for cookies. That’s why I don’t think I’d use them to fry an egg, but scrambled might work out ok – I just haven’t tried that.

See?!! The Sugar Cookies turned out just fine!

This is so easy to do, and it just takes a few minutes to get the eggs into the freezer. I’ll be doing this from now on. You really would only need 4-6 eggs for an emergency stash, but you can always do more – especially if you’re lucky enough to have your own chickens and find yourself with an abundance of eggs. It’s a good way to keep them until the middle of winter when the chickens take a break from their egg laying. But then again, if it’s as simple as being the kind of person who is continually out of eggs when you’re in the mood to bake, try Freezing Eggs and you’ll never have that problem again!

1 Comment »

14 Tasty Ways to Preserve Your Summer Harvest

Today on the blog I’m sharing 14 Tasty Ways to Preserve Your Summer Harvest! They are ALL so good and so easy to do! You’ll want to try them all and be prepared for enjoying a little bit of summer and sunshine during the coming winter!

Refrigerator Pickles

Frozen Corn

Tomato Jam

Applesauce

Hot Bath Tomatoes

Frozen Corn #2 and #3

Frozen Cole Slaw

Peaches (canned)

Watermelon Pickles

Beet Pickles

Peach Jam

Frozen Green Beans

Freezing Zucchini

How to Freeze Whole Tomatoes

3 Comments »

Blueberry Rolls with Lemon Icing

I’m making another version of an old recipe today and I’m calling them Blueberry Rolls with Lemon Icing. I used the recipe for a Half Batch of Buns to make these, and all I can say is – I need to make these more often.  Not because they’re amazingly delicious – which they are – but because I don’t make bun dough very often, I forget how much a half batch of dough really makes. It made more than I remembered and this batch made really BIG rolls. I mean, how bad can that be, right?!! My husband and my son didn’t seem to mind. As long as you have some blueberry jam and a lemon on hand, these are pretty easy to make.

Here is the recipe as I made it:

Blueberry Rolls with Lemon Icing

Make one recipe of a Half Batch of Buns.

At the point where it’s time to make the buns, use 1/2-3/4 of the dough to make the rolls.

Roll out the dough into a rectangle large enough to fill whatever pan you’re using – 9″ x 9″ or 9″ x 13″.

Spread a thin layer of blueberry jam over the flattened rectangle (I happened to have a jar of homemade jam, but store-bought is fine, too).

Roll the dough into a tube and cut into slices (if using a 9″ x 9″ pan – cut into 9 slices or rolls, if using a 9″ x 13″ pan – cut into 12-15 slices or rolls).

Put slices into a well-greased pan.

Cover and let rise another hour.

Bake at 375 degrees for 30-40 minutes, or until rolls are golden and not doughy.

Cool.

Spread Lemon Icing over top of rolls.

Lemon Icing

2 cups powdered sugar

1/4 cup softened butter

Zest of 1 lemon

Juice of 1/2-1 lemon, depending on the consistency you want

Mix together and spread on top of rolls.

The dough is all ready to go!

I think I’d go with store-bought jam next time. The homemade jam ended up to be a little runny.

This was NOT my day. I also forgot to only use 1/2-3/4 of the dough for the rolls and use the rest for Buns. I used the whole Half Batch of Buns for these rolls and they were HUGE! Not that anyone minded that. 🙂

The lemon frosting really brings the blueberry and lemon together.

The possibilities for different flavors of rolls is absolutely endless – try different flavors of fillings and icings.

Oh man – these were sooooooooooo good!

My family really, really likes blueberry with lemon – especially my husband. It’s one of his favorite flavor combinations. It was a no-brainer to try to make these rolls. They’re great with a nice cup of coffee for breakfast, or a snack, or ok – anytime! Thanks, mom, for teaching me how to make buns and rolls. I hope you call your family or friends to come over for coffee and enjoy a batch of Blueberry Rolls with Lemon Icing!

5 Comments »

8 Refreshing Summertime Drinks

Today I’m sharing 8 Refreshing Summertime Drinks. Each of these are perfect to cool you off in the hot, hot summertime, and they’re all so, so good! Make up one of these delicious drinks, find yourself a nice, shady tree, and kick back and relax! That’s what summer’s for, after all!

Pineapple Lemonade

Spiced Tea

Peachy Lemonade

Coffee Shake

\

Orange Julius

Iced Cocoa with Cinnamon

Strawberry Lemonade

Homemade Ice Cream and Root Beer Floats

2 Comments »

Apricot Salad

Today’s recipe for Apricot Salad is one Grandma got from an old electric company newsletter years ago. I have been avoiding this recipe because it says at the bottom that it makes 2 molds. That seemed like a LOT of salad for our family. Grandma came from a large family, and I assumed that she would have made this large salad – or 2 molds – when bringing this to one of her family’s gatherings. This photo is of her family (that’s Grandma in the middle), and for some reason, I just love this one. It’s not quite as formal as some from earlier times, and they all seem so calm and somehow a bit amused.

This salad would have been perfect for this large family (if it made two molds) with all their spouses and kids. As we’ll find out as we go along, I think when Grandma wrote “makes the two molds”, she actually meant “makes the two layers”. The salad (another of those “salads” that is made from Jell-O and not veggies) was delicious, but just not what I expected it to turn out like.

Here is the recipe as I made it:

Apricot Salad

First Layer

Mix together:

1-3 ounce package of orange Jell-O

1 cup hot water (I used the usual boiling water according to the package directions)

1/2 cup cold water

Chill slightly.

Beat until foamy (I used a hand mixer for this and had it in a glass bowl so I could see when it was foamy all the way through).

Then add:

1 cup heavy cream, whipped (I used the hand mixer to combine this with the orange mixture)

Put into mold (when you unmold it, this will be the layer on top) or you could use a pretty bowl, just don’t flip it over!

Second Layer (Top)

1-3 ounce package or orange Jell-O

1 cup hot water (I used boiling again)

1/2 cup cold water

Chill until syrupy (this took about 35-40 minutes).

Add:

12 ounce can of apricot and pastry filling (maybe when Grandma made this there were cans of apricot pie filling, but this was all I could find)

Pour on top of the first layer.

Chill until firm and unmold.

The first part is the good old orange Jell-O.

I used the hand mixer to combine the orange mixture and the whipped cream.

Because Grandma wrote “makes the two molds”, I put half into a mold and half into a glass bowl.

On to the second layer.

The apricot mixed in just fine.

The second layer goes on top, but it doesn’t seem like enough. This was where I decided that Grandma wrote the wrong thing. I think she meant “makes the two layers”. It really wasn’t enough for two molds.

It was pretty, but was a bit thin and didn’t look like what a full mold would look like.

It was delicious – full of orange and apricot!

Because it was a bit on the small side, it didn’t look so pretty, but it was good. I would say that I’ve enjoyed some of the other “salad” recipes of Grandma’s more than this one, but it was ok. Next time I would try and make it in just one mold and I think it would turn out just right. This is perfect for any summertime gathering. I hope you try this Apricot Salad and let me know how it turns out!

2 Comments »

10 Delicious Frozen Dessert Recipes

Today I’m sharing 10 Delicious Frozen Dessert Recipes! They’re all so easy to make and so much fun to eat! Most of these can be made ahead of time and just kept in your freezer for when you need a cool treat on a hot, hot day!

Dessert #2

Fantasy Freeze Pie

Oreo-Mint Dessert

Frozen Salad or Dessert

Ice Cream Dessert

Chocolate Ice Cream Dessert

Baked Alaska

Lemon Ice

Oreo Frozen Dessert

Frozen Lemon Pie

Leave a comment »

The New Vintage Kitchen

A Vermont innkeeper's collection of seasonal vintage recipes, reimagined for today's cooks.

Convivial Supper

Recipes from the Past

Cooking Without Limits

Food Photography & Recipes

Mrs. Twinkle

My Wonderful Little World

EASYBAKED

a collection of recipes